Characteristics
Simple: Data is directly exposed as objects and queryable by code, removing the need for ORM's riddled with performance & maintenance issues. Most of our users pick it up intuitively, getting simple apps up & running in minutes.
Modern: Realm supports relationships, generics, vectorization, and Swift.
Fast: Realm is more rapid than even raw SQLite on common operations while maintaining a rich feature set.
Installation
To integrate Realm into our Xcode project, we'll use what we learned in our Cocoapods section so for this part we'll assume you're familiar with Cocoapods and how to install dependencies.
Add the Realm pod dependency to your Podfile
pod 'RealmSwift', '3.0.2'
and install your pods. This action will integrate Realm and RealmSwift to our project via Cocoapods .
You can also integrate manually via Dynamic Frameworks; you can read more about it in Realm's installation documents.
Creating our models
Realm data models are defined as regular Swift classes with regular properties. To create one, just subclass Object. Realm model objects mostly function like any other Swift objects. You can define your own methods on them, conform them to protocols, and use them like you would any other object. The main restriction is that you can only use an object on the thread which it was created.
Properties Types
Realm Database supports the following property types: Bool, Int, Int8, Int16, Int32, Int64, Double, Float, String, Date, and Data.
String, Date and Data properties can be optional. Object properties must be optional. Storing optional numbers is done using RealmOptional.
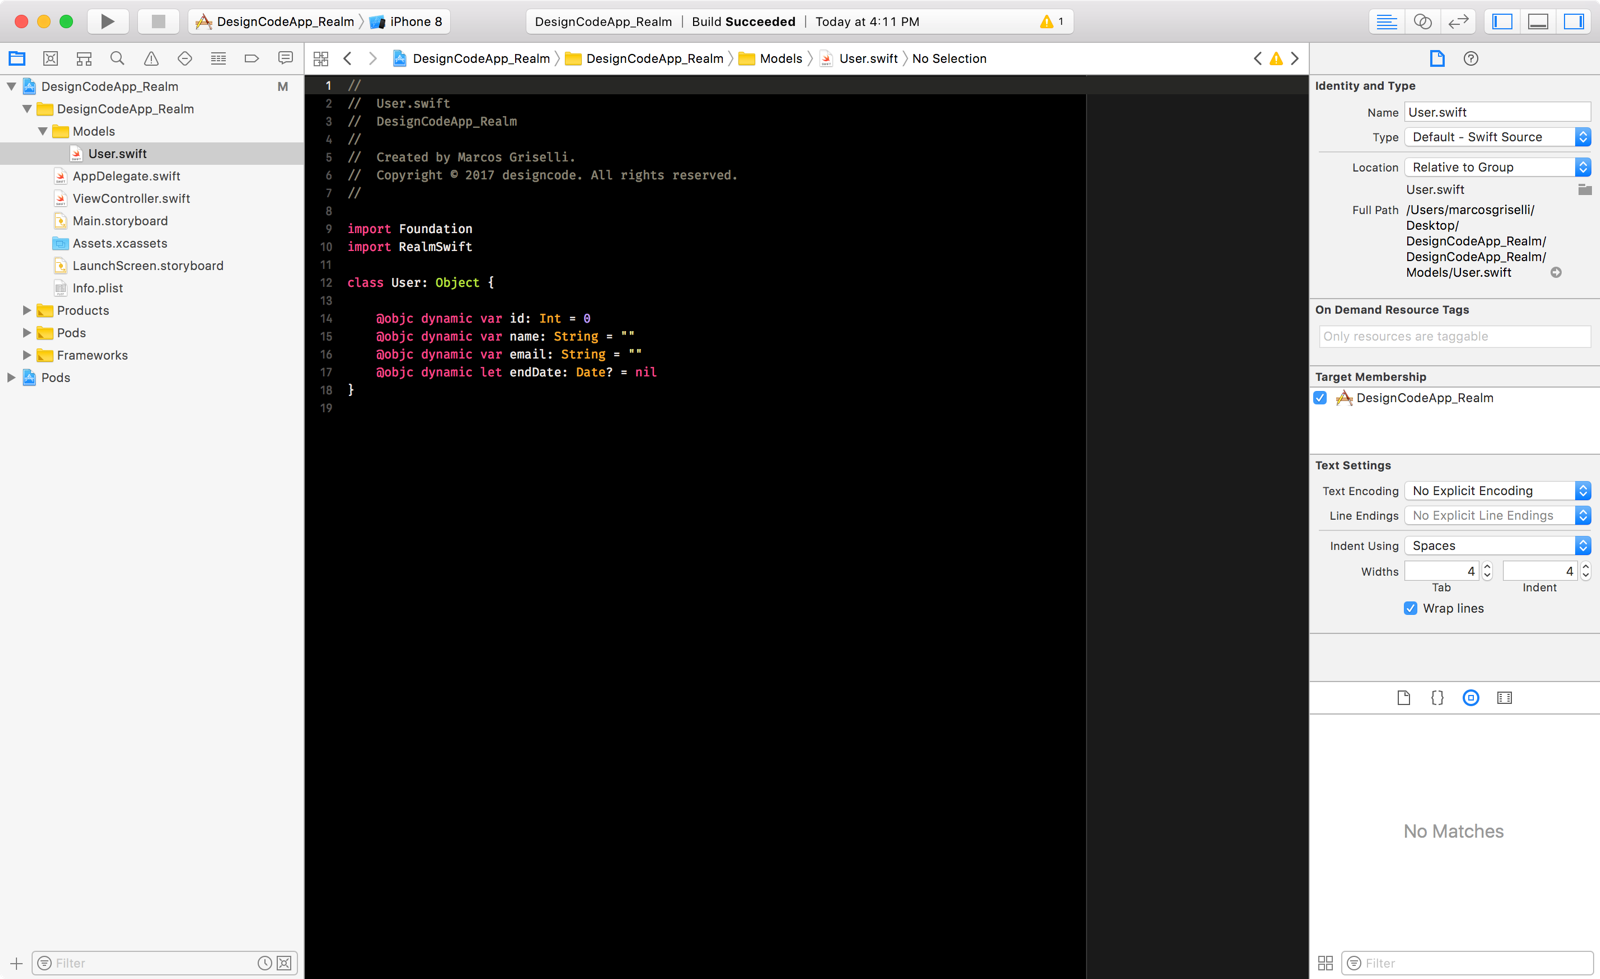
With this, we're able to create our initial structure for our User object. Start by creating a User.swift file and importing RealmSwift with
import RealmSwift
at the top of our file. We'll then create a User class which subclasses form Object
class User: Object {
We'll then add our initial properties
@objc dynamic var id: Int = 0
@objc dynamic var name: String = ""
@objc dynamic var email: String = ""
@objc dynamic let endDate: Date? = nil
The properties so far are self-explanatory except for endDate, we'll use it to evaluate if the user is still in a valid subscriber plan to access specific content.
You might have noticed that all our properties have the @objc dynamic attribute, we'll explain the reason for this in the upcoming part.
Dynamic attribute
Realm model properties need the @objc dynamic var attribute for them to become accessors for the underlying database data.
The Apple's Swift Programming Language describes the dynamic modifier usage as:
”Apply this modifier to any member of a class that can be represented by Objective-C. When you mark a member declaration with the dynamic modifier, access to that member is always dynamically dispatched using the Objective-C runtime. Access to that member is never inlined or devirtualized by the compiler.
Because declarations marked with the dynamic modifier are dispatched using the Objective-C runtime, they must be marked with the @objc attribute.”
There are two exceptions to this: List and RealmOptional properties cannot be declared as dynamic because generic properties cannot be represented in the Objective-C runtime.
Primary Keys
Primary Keys are used to looking up objects and force a unique value on this property for every object. This primary key value cannot be changed once it's added to a Realm.
To define a primary key in our object we'll override the static func primaryKey() -> String?.
override static func primaryKey() -> String? {
   return "id"
}
Relationships
Defining relationships in Realm is one of the reasons why using Realm Database is so simple. They are easy to write and inexpensive with regards memory and performance.
To support one-to-one or many-to-one relationships just add a property of type of the Object to relate to.
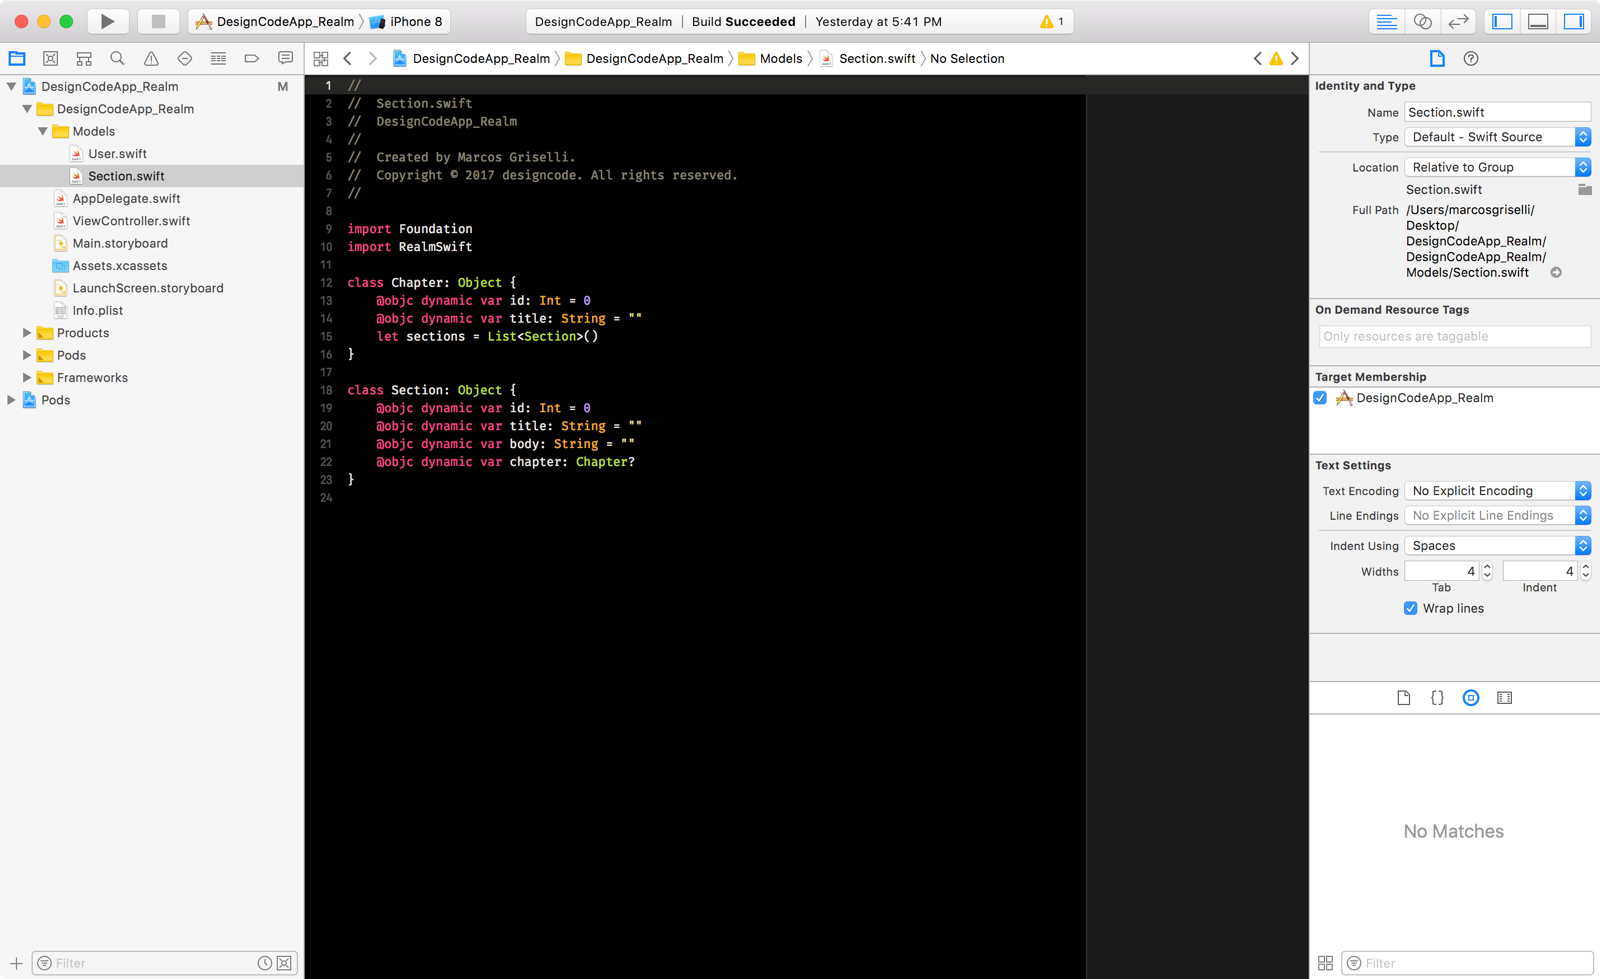
As our User model doesn't count with any relationship of this kind, we'll mock a Section definition to relate with a mock implementation of Chapter.
class Chapter: Object {
    @objc dynamic var id: Int = 0
    @objc dynamic var title: String = ""
    let sections = List<Section>()
}

class Section: Object {
    @objc dynamic var id: Int = 0
    @objc dynamic var title: String = ""
    @objc dynamic var body: String = ""
    @objc dynamic var chapter: Chapter?
}
To define a many-to-many relationship, we'll use a List property containing objects or supported primitive data types.
let sections = List<Section>()
Database Transactions
Realm objects can be initialized and used just as regular Swift objects. We must add this objects to a Realm if we want them to persist through threads and app launches. All objects operations (write, delete, modify) must be done within a write transaction. These transactions might fail so both Realm.write() and Realm.commitWrite() are marked as throws.
Write
Up until the moment of storing our objects in the Realm Database, we can use them with no special setup. For example creating a User object would look like this:
let user = User()
user.id = 1
user.name = "User Name"
user.email = "user@designcode.io"
Nothing different from creating regular Swift objects. There are other ways of creating Realm Object subclasses which we won't dive into. You can read more about them in the Realm documentation
When the time comes to store our object in the Realm database, we need to do it inside a write transaction. So we'll get the default realm calling
let realm = try! Realm()
And then we'll add our object to this realm inside a write transaction
try! realm.write {
   realm.add(user)
}
From this point on if we want to modify properties of our user object, we must do it inside a write transaction. For example
try! realm.write {
   user.email = "new@designcode.io"
}
Updates
For objects containing a primary key, Realm is smart enough to know when to add an object to a database versus when to update an already existing object. This allows us to write less boilerplate code for pre-checking if an object with that id already exists on the database.
Using our same User example, we would set up the properties and add it to the default realm in a write transaction. We'll set the update parameter of the add function to true, so if an object with that primary key already exists, the database it will only update it otherwise it will create a new entry.
try! realm.write {
   realm.add(user, update: true)
}
Delete
As we mentioned earlier, all database operations go through a write transaction. Deleting an object from the Realm database follows the same structure as adding or editing. We get the object and then call the operation inside the transaction block.
The difference for deleting an object is that we must get the instance of an object already stored in the database. We'll explain more about fetching objects stored in realm and querying. But for now, we'll just assume we fetched the desired object.
//let user = perform fetch operation from realm.
let realm = try! Realm()
try realm.write {
   realm.delete(user)
} catch {
   //Errors might be thrown so we have to handle them.
   print(error.localizedDescription)
}
Queries
Queries return a Results instance, which contains a collection of Objects of a single subclass type. Results collection work in a similar way as Arrays and its objects are accessed via subscripting.
The most basic query Realm.objects(:) which returns a Results of all objects of the type being passed in the function.
let realm = try! Realm()
let allUsers = realm.objects(User.self)
Filtering
There are two ways to filter a Realm query. Via NSPredicate or using a predicate string.
We'll filter users who have registered with their designcode.io email using a predicate string.
let teamUsers = realm.objects(User.self).filter("email ENDSWITH '@designcode.io'")
If you're already familiar with NSPredicate you might find this approach easier to implement. We'll just create our NSPredicate with a format value and pass it to the filter function as a parameter.
let predicate = NSPredicate(format: "email ENDSWITH %@", "@designcode.io")
teamUsers = realm.objects(User.self).filter(predicate)
Sorting
Results allow you to specify sorting criteria for the query you are running. It can be based on a key path, property or a combination of sort descriptors.
We'll use the previous query with a string predicate to add the sorting criteria. This will bring the same objects in a Results collection as before but sorted by their name property.
let teamUsers = realm.objects(User.self).filter("email ENDSWITH '@designcode.io'").sorted(byKeyPath: "name")
Chaining Queries
We might need to use both the filtered and unfiltered data in our app so it would be useful to be able to chain the queries as we need them to avoid rebuilding a complex query.
let users = realm.objects(User.self)
let teamUsers = users.filter("email ENDSWITH '@designcode.io'")
Credit
Special thanks to Marcos Griselli for co-authoring this section.