State of Swift
We’re currently in the 4th release, which means that your code will less likely to break when an upgrade is around the corner. Swift is now simpler and more stable. In 2017, it became one of the top 10 languages, even as a relatively new language.
Xcode 9
Xcode 9 introduces Dynamic Type, Safe Area guides and a better experience previewing on multiple devices. The code editor now supports Markdown, a simpler format for writing. Code styling and highlighting is more powerful, and scrolling is butter smooth, even for large files. Refactoring is another fantastic addition, making it effortless to rename your classes and objects.
The new GitHub integration is much deeper, allowing you to commit and pull changes without leaving Xcode. Finally, you can now test on your app on multiple iOS Simulators at once, or on your own device wirelessly, which wasn’t possible before.
Empowering Designers
Personally, I spent close to 20 years making Websites. Beyond Photoshop and Sketch, I learned CSS, HTML and Javascript. I wouldn’t trade anything for those skills. It allowed me to be where I am today. I can design and build fairly ambitious Web and iOS apps in a way that isn’t restrictive or unrealistic.
Knowing how to implement your own designs is both empowering and informative. It’s like getting feedback in real-time, as you design. That feedback is fed by your understanding of engineering, preventing you from making common design mistakes, which can cost weeks of lost time.
No designer wants to spend a week putting together something only to be told that it can’t be done.
You Don’t Have to be an Expert
Knowing how to use Storyboard, Auto Layout and a little bit of Swift will not only allow you to build your own app, but also share the workload with your developer. You don’t work in a silo, you iterate at the same pace as your team. A project can only move as fast as its slowest link. Development takes 80% of the time; the first 20% is attributed to visual design. There is 30% up for grab. Since designers are especially trained for that part, there can be a huge win.

Building Your First App
In this large chapter, we won’t skip any steps. You’ll learn everything in great detail: the Xcode user interface, Storyboard, Auto Layout, Animation, the Swift language and a whole lot more. Each section is extremely visual and has videos with voice as well as downloadable Xcode projects. The whole process has been simplified for both designers and beginners.
Quick Prototyping
While Xcode allows you to do really powerful interactions, it can also create simple prototypes. And without writing a single line of code. Unlike a lot of prototyping tools out there, Xcode uses Storyboard, which is a lot more visual and a lot closer to the way designers work in Sketch.
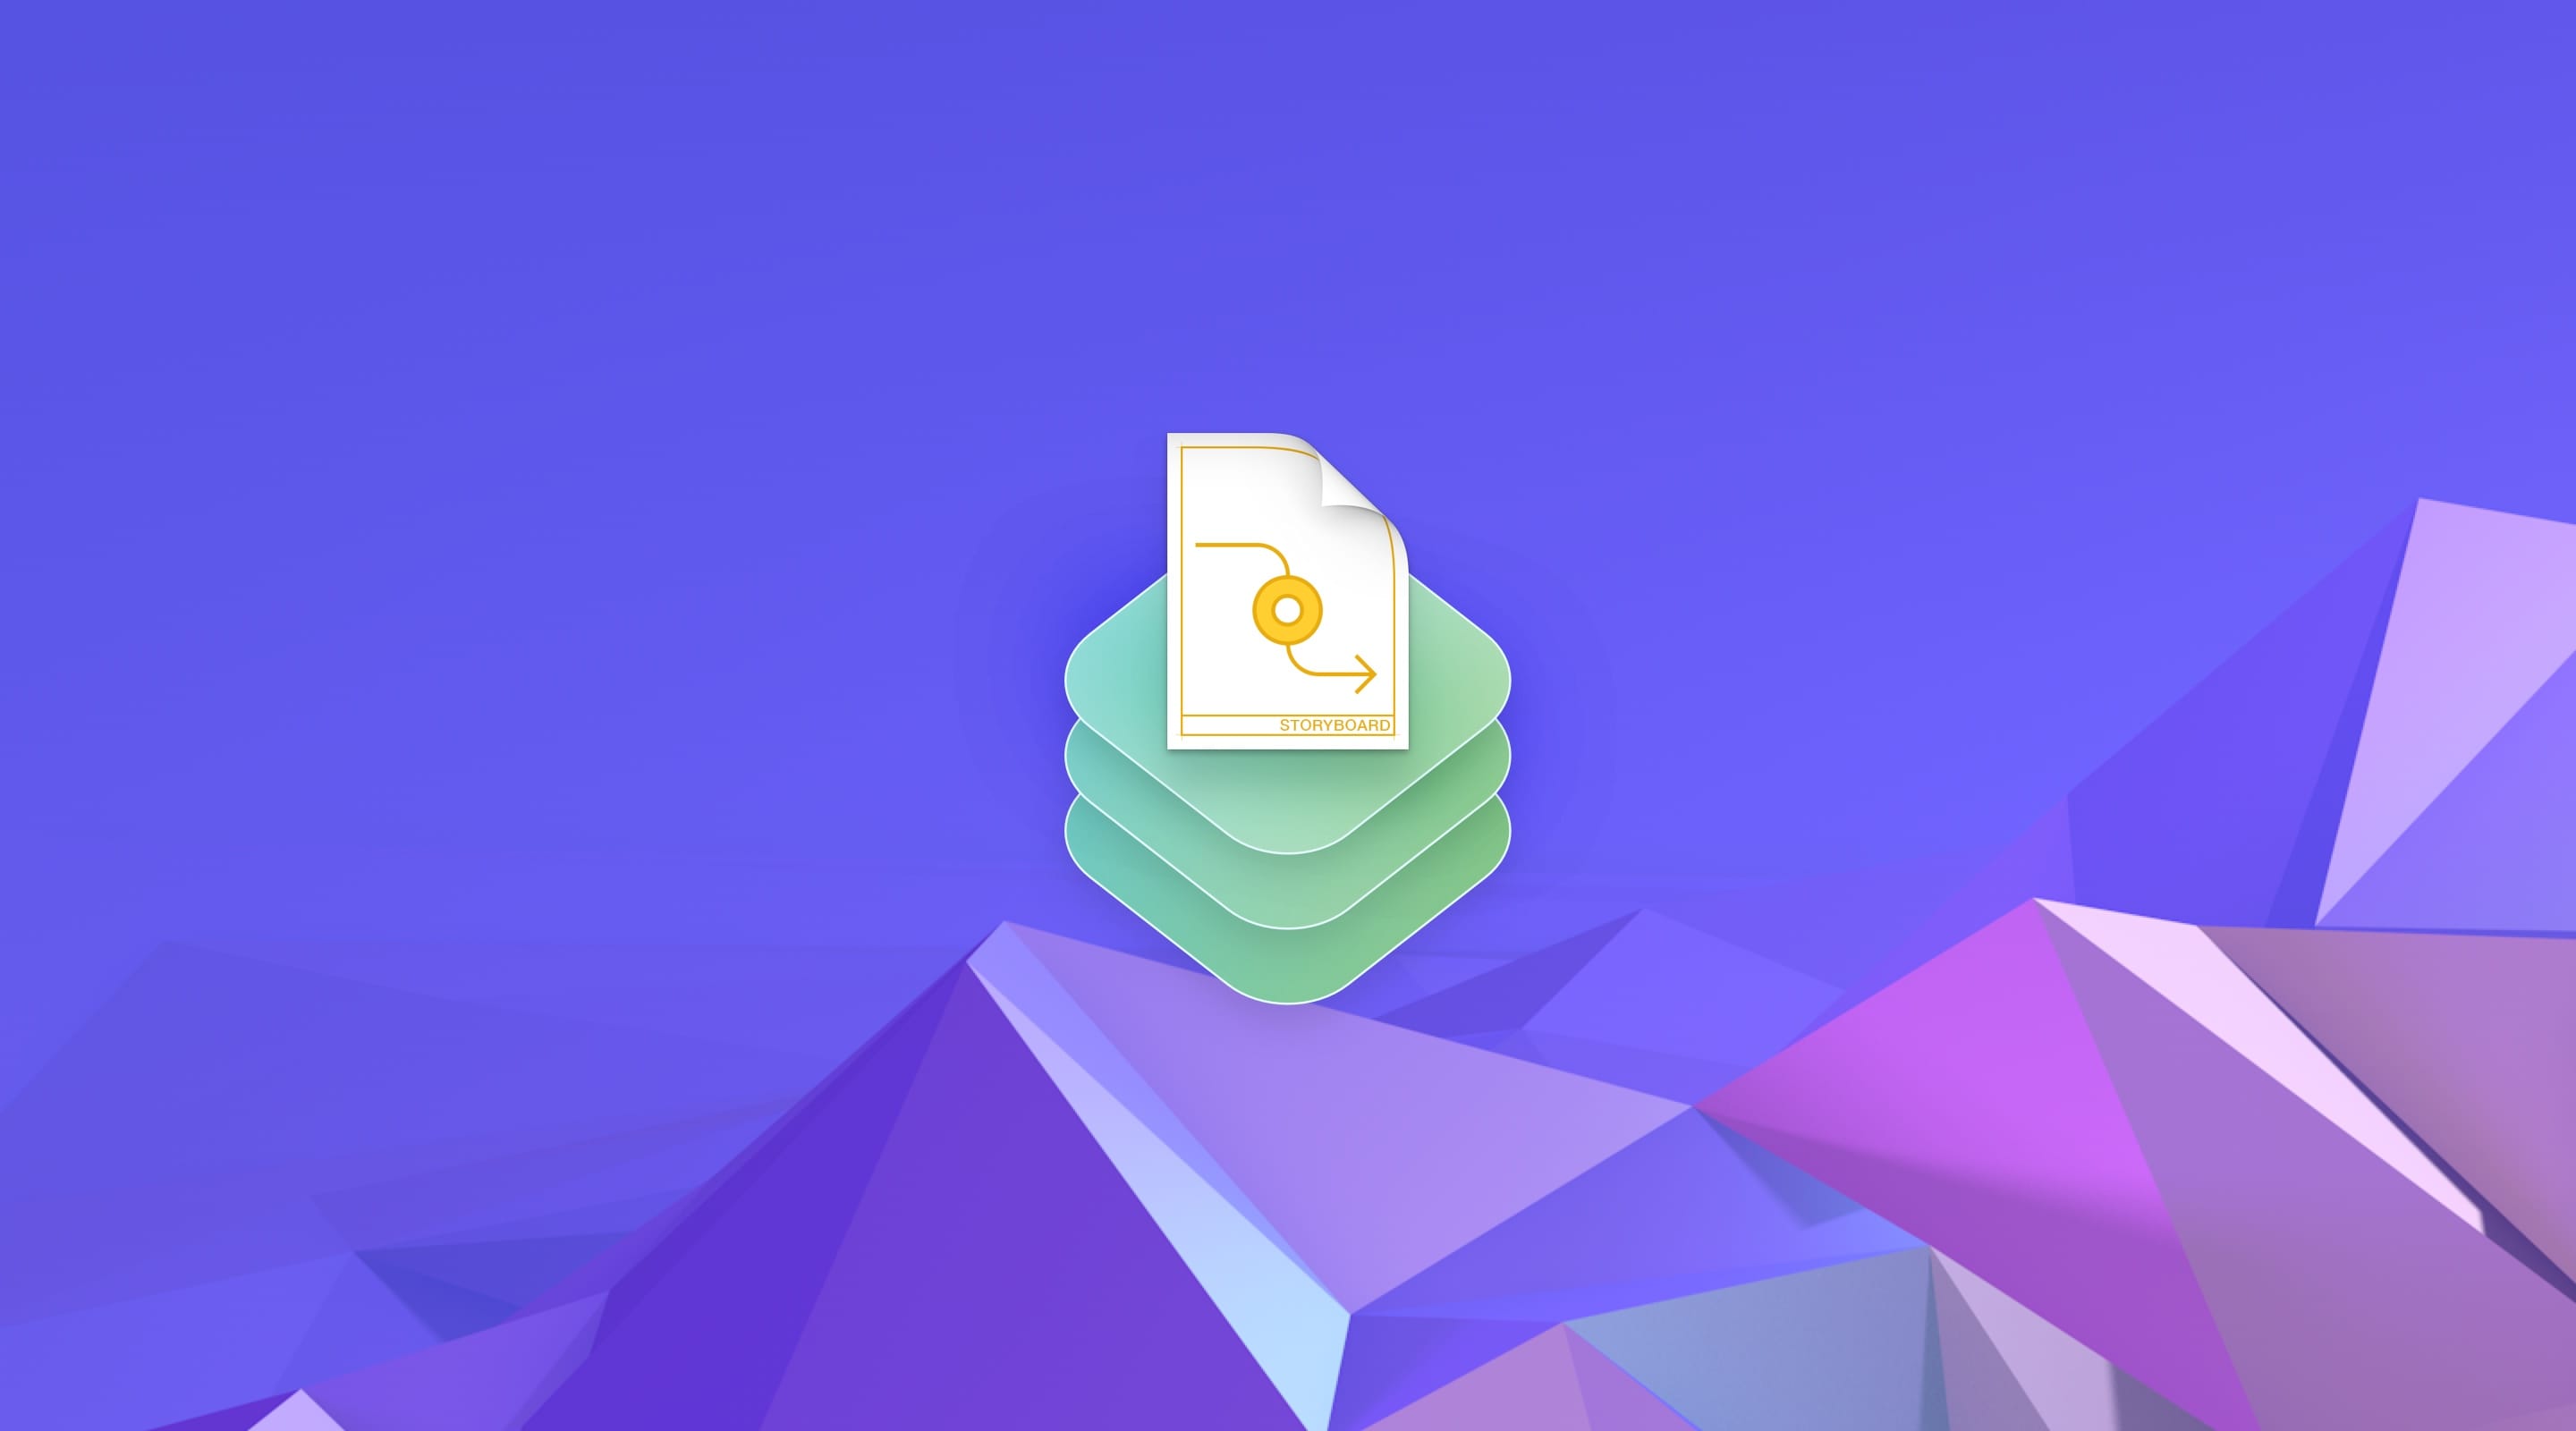
Designing in Storyboard
The Storyboard works very similarly to Artboards in Sketch. It's incredibly intuitive once you get past that fear of Xcode. In Storyboard, you manipulate your UI in a very visual way. It's even easier than HTML and CSS because you don't need to code.
As a designer, to be able to implement your own design is empowering, not to mention fun as well. We’re fortunate to have a functional visual tool like Storyboard that even developers use. Not only can you prototype with it, but also you can create production-quality layouts that co-exist with production code.
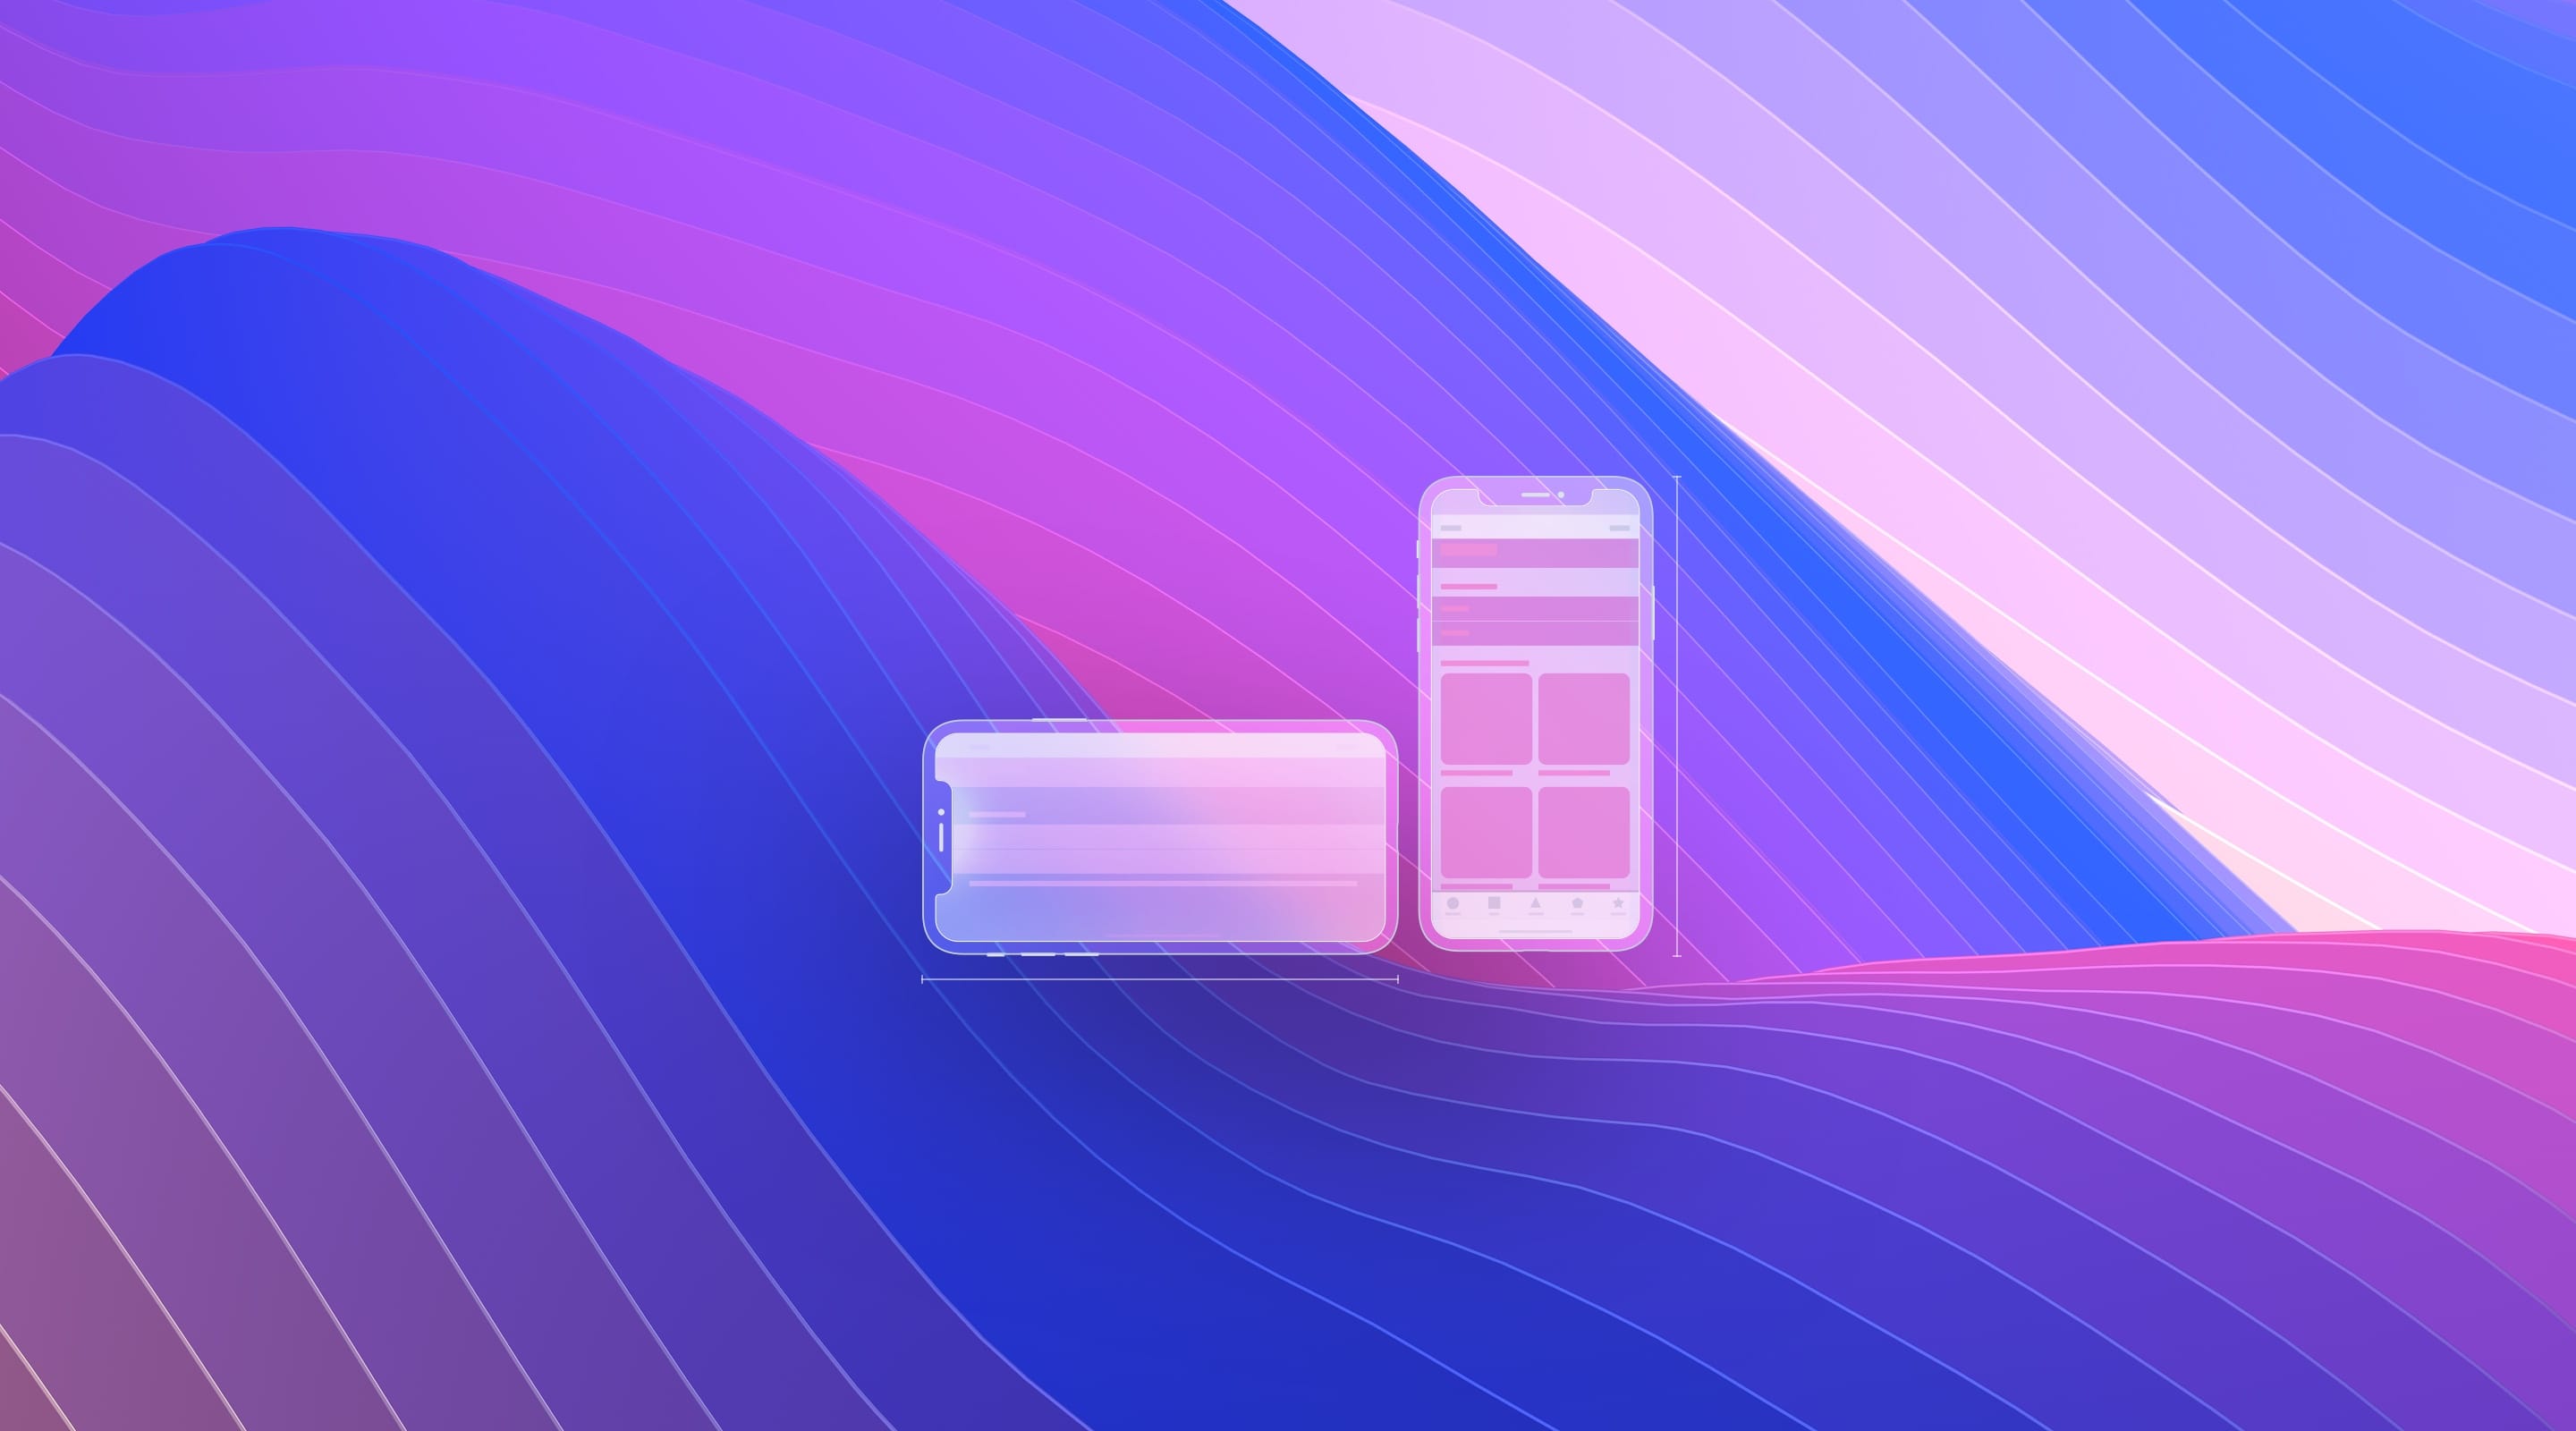
Auto Layout and Stack Views
Adaptive Layouts is one of the most important skills you can develop. As there is a growing number of mobile devices and screen sizes, we can no longer afford to focus on just static designs.
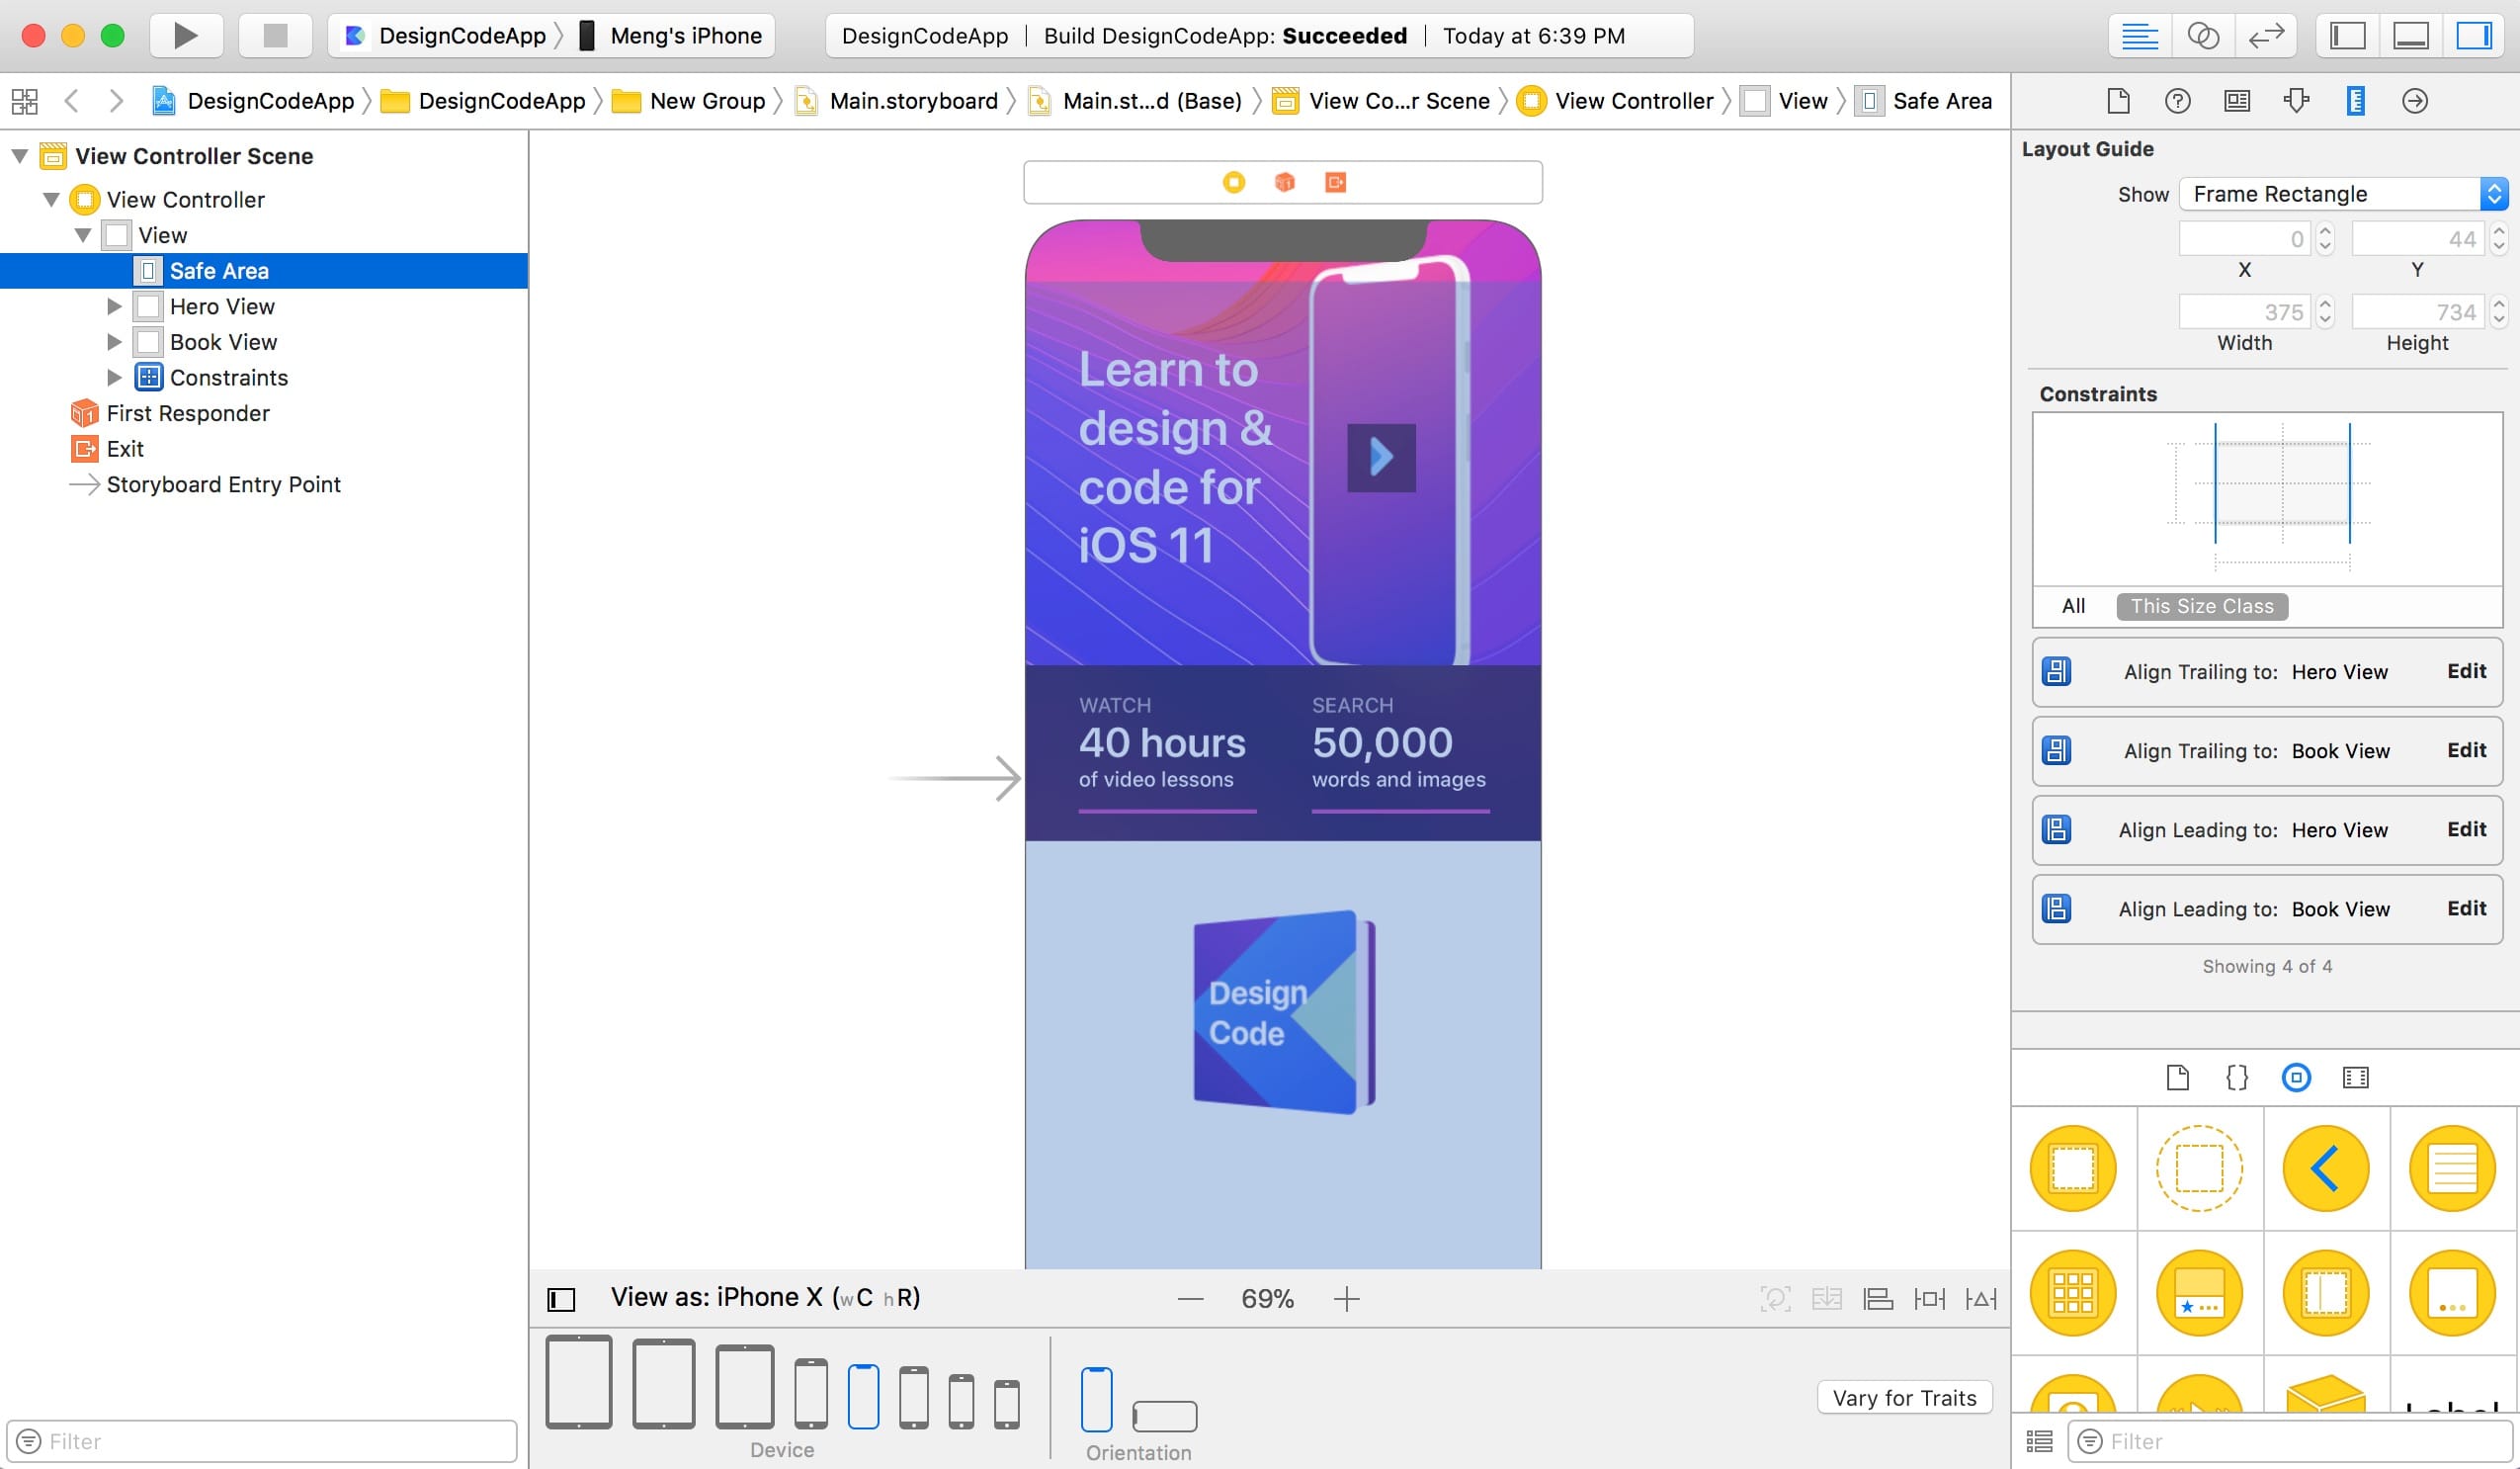
Adapting for iPhone X
The iPhone X introduces the need to follow the Safe Area layout guides. The Safe Area ensures that your content won’t be hidden by the Notch or corner radius. In general, background elements such as background images and colors should follow the Superview while the content such as labels, avatars and medias should follow the Safe Area.
Learning Swift as a Designer
With Swift Playground, you can experiment with code in real-time. It’s a perfect place to experiment with all the possibilities without the limitations of a GUI. Learning how to use functions, classes and working with UIKit can make your app infinitely more powerful.
I like to think of code as another design tool. Software is made of code, it is unavoidable.
This book was written in a way that it respects all the latest standards encouraged by Apple. I consulted seasoned iOS engineers in the process and they kindly reviewed all the code to make sure that I respect the best practices.
Why Learn Code?
As a designer learning code, you can perform any animation, complex interactions and work with real data from any database or API. Also, you can collaborate better with engineers by understanding their constraints, and pushing beyond those constraints.
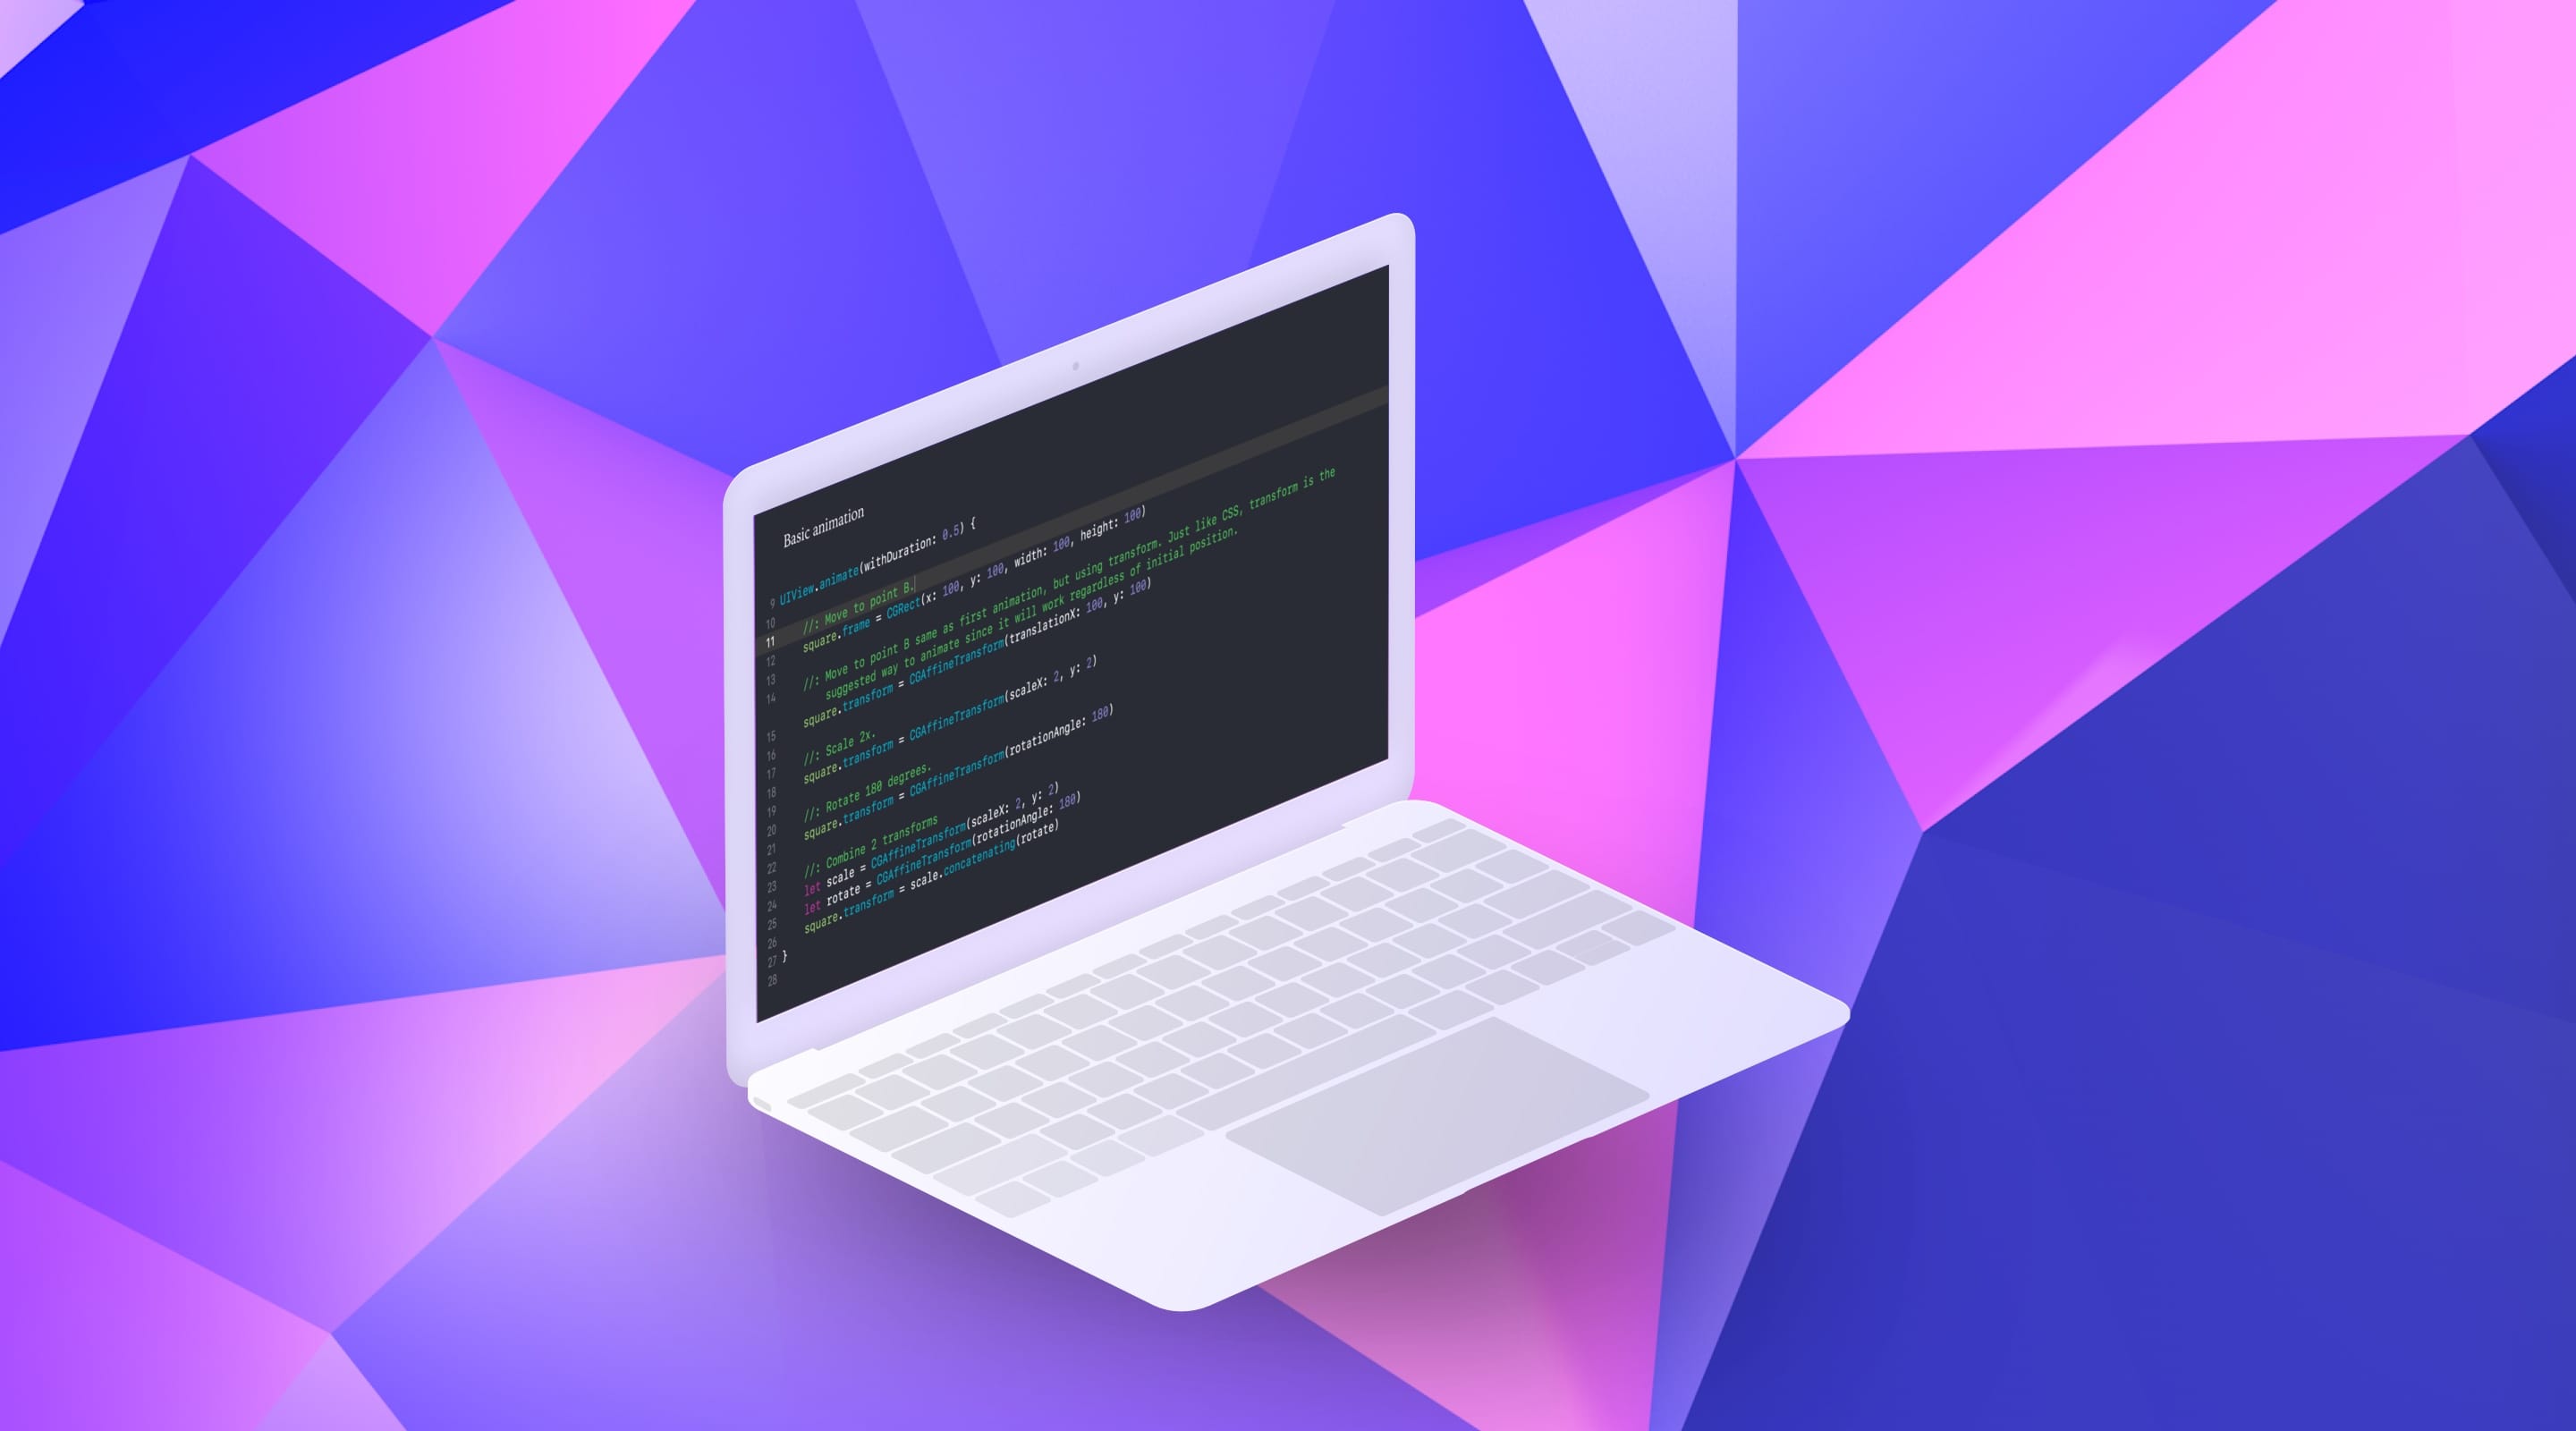
Animate in Playground
Playground allows you to quickly test snippets of code and see the results in real time. There are a few techniques that you need to know in order to start on the right foot. The beautiful thing about Playground is that there is zero setup, and you just need to write a bunch of words that make sense to the computer. But you need to enable a couple of options.
We’re going to learn how to build a simple transition from the Main screen to the Section screen. While Playground may not allow you to test on devices, the code that you create here can easily be transported to Xcode. We’re using Playground to get a firm grasp at some of the basic concepts of animating in Swift.
3D Animation
A lot of interesting interactions happen as a result of scroll events. In the Design+Code app, we use the scroll information to capture the read progress, to show or hide the navigation bar, and to apply a parallax effect on the visual elements.
CATransform3D is a fantastic way to take your animation to the next level. There is so much more to explore in term of using the matrix values and playing with rotate, scale and translate. Our final result is something that will leave quite an impression on our users.
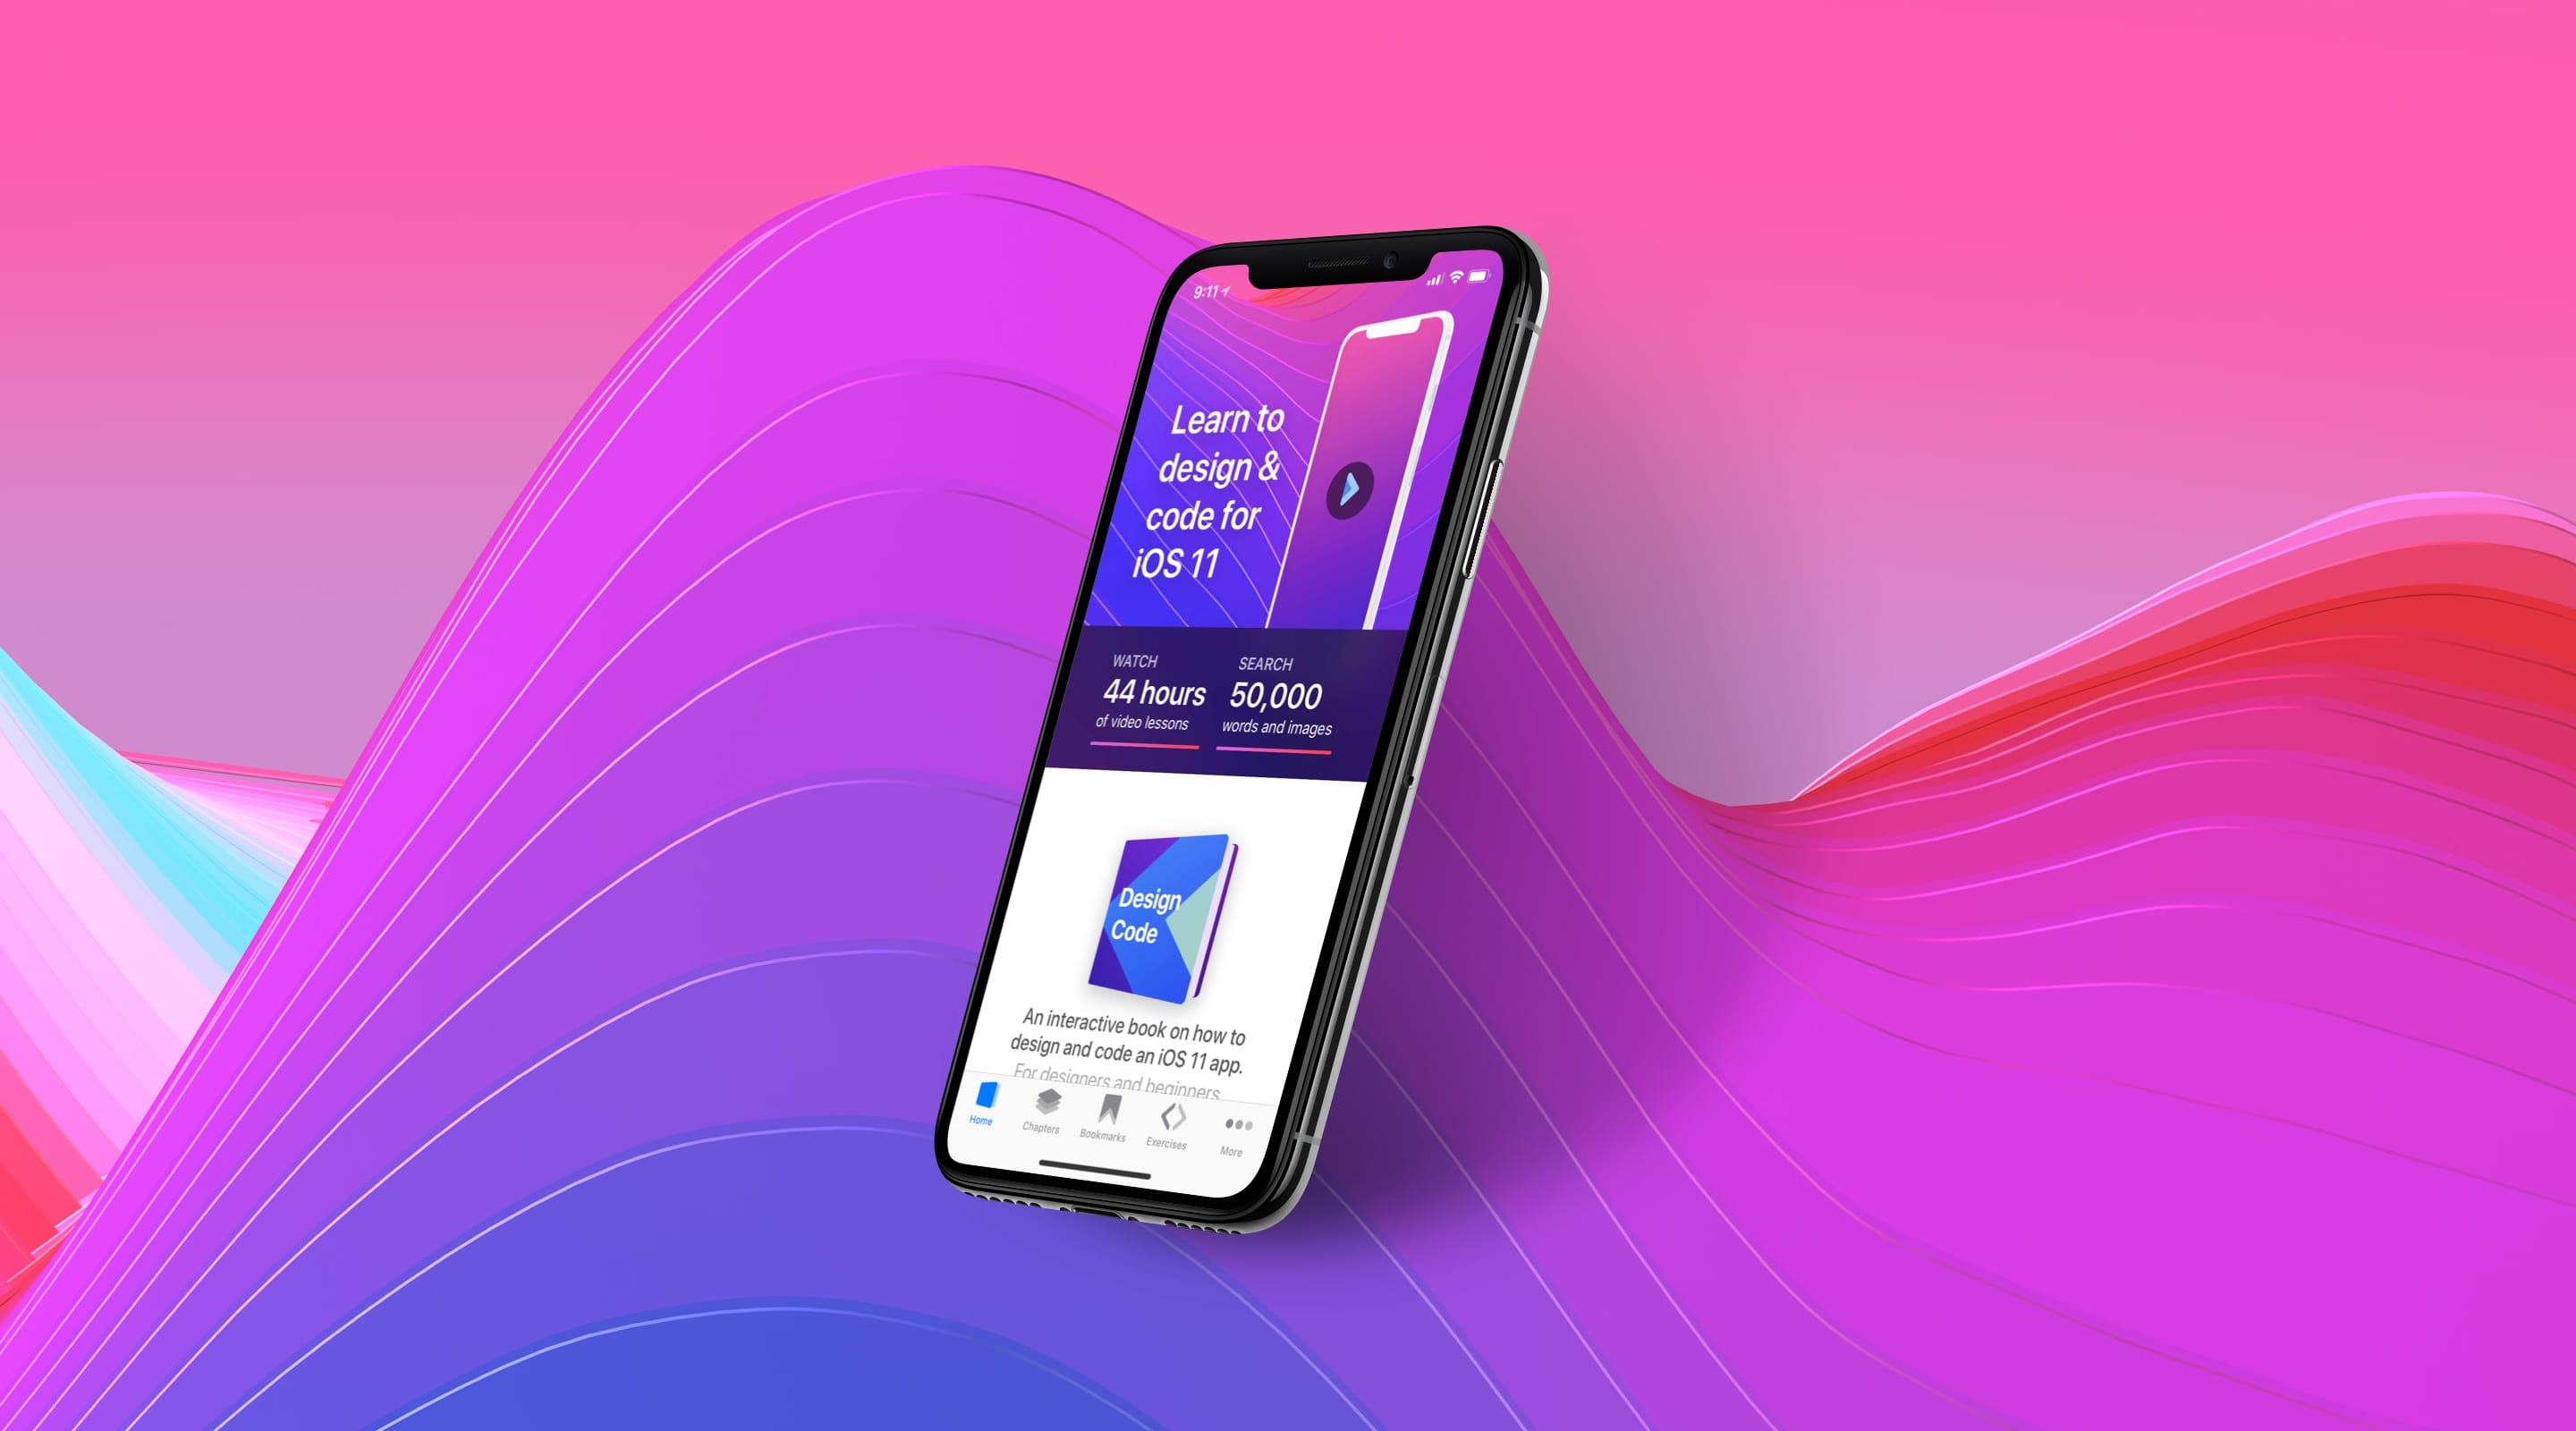
The Final App
In this course, you’re not doing a sample app. You’re building a real app that’s been published to the App Store. You’re facing real world problems and you’ll learn advanced techniques like using Libraries, gesture interactions, implementing Dark Mode, JSON parsing, Realm database and publishing to the App Store. To start the step-by-step course, head over to Intro to Xcode 9.