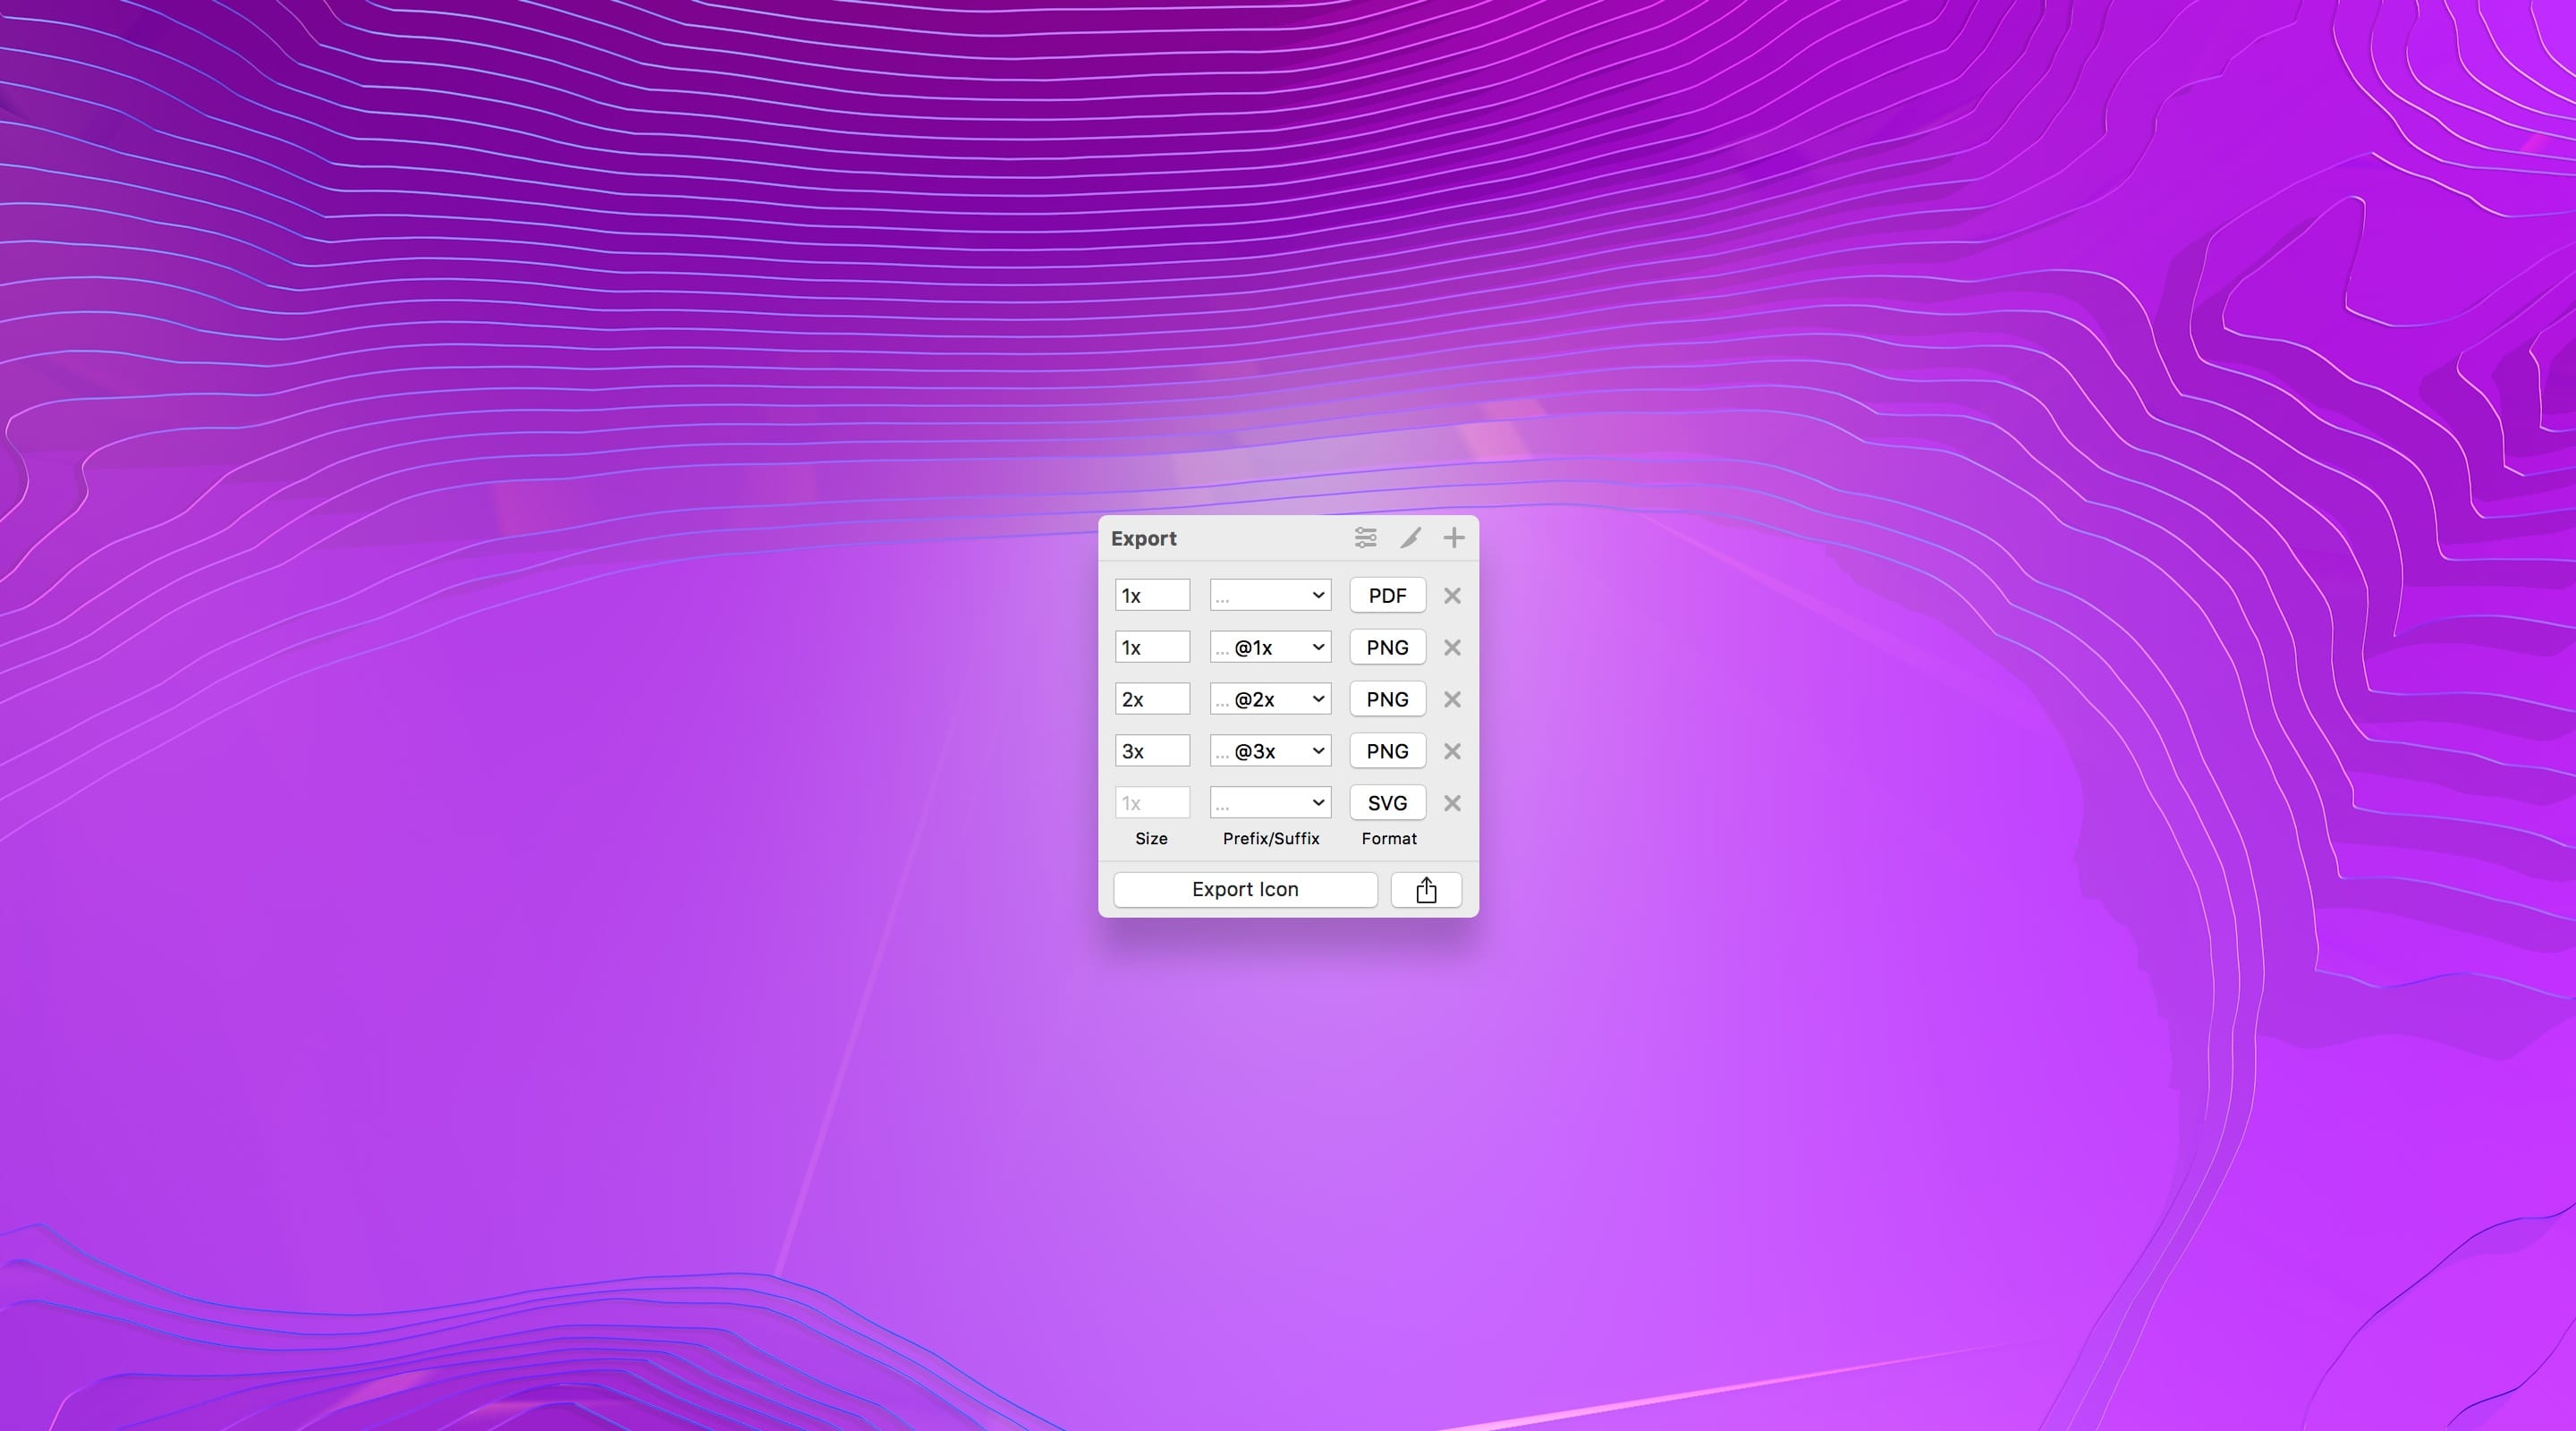
Working with Vector
Vector Techniques in Sketch
Vector is traditionally something that’s very hard to learn because you had to master the Bezier Curve and recreate complex shapes from scratch. Sketch makes this a little easier by combining simple shapes, rounding vector points and vectorizing borders. You can replicate 90% of all the icons found in iOS by applying these basic techniques.
Here’s a full video with step by step instructions on how to create an icon from scratch. You can download the Sketch file to follow this tutorial.
Drawing a Vector
While this book isn’t a full course into vector illustration, I can try to explain the basics, so that you can start designing simple icons of your own. Vectors are composed of points, which can be curved using the Bezier Curve.

The Bezier Curve
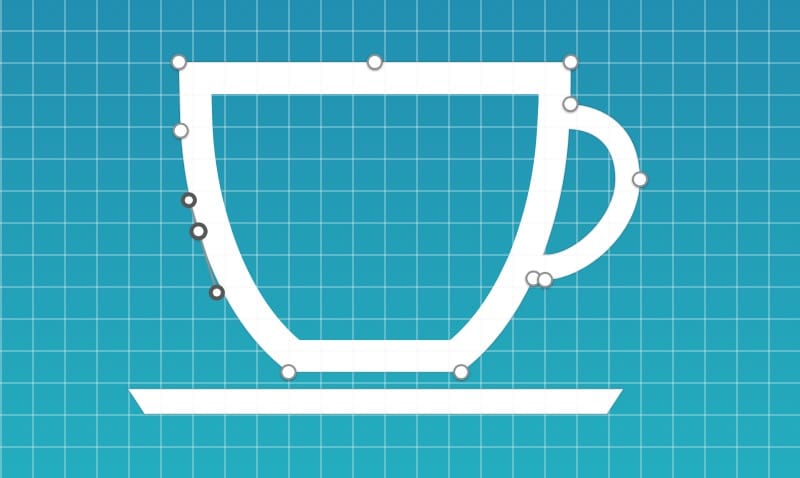
The Bezier Curve isn’t something you’ll master anytime soon but, we can certainly learn the fundamentals and apply some specific techniques in Sketch. Practice is key. As with a lot of practices, try to replicate something that’s not too complex: a simple shape like the Refresh icon. That icon can be from any screenshot or photo. Lock the layer and start drawing on top of it.
To insert a new path from scratch, press V.
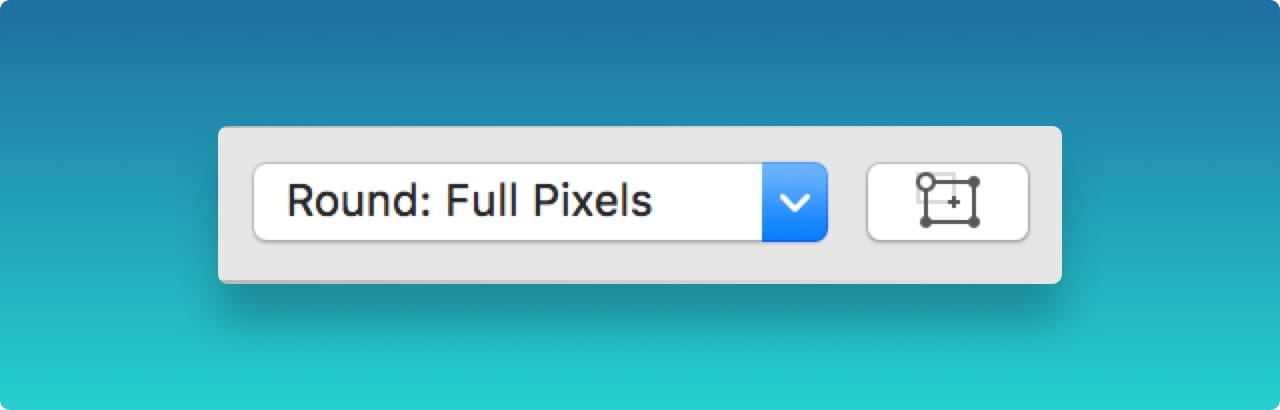
Round to Full Pixels
Before even drawing your icon, you can make sure that each point will fall perfectly in the pixel grids by enabling Round to Full Pixels.
Notice that, you’ll be drawing at the border of the shape, not inside. By default, borders have a Center outline, which may confuse you at first while drawing your shape but you can switch to border thickness (0.2 px black) to make it more precise.
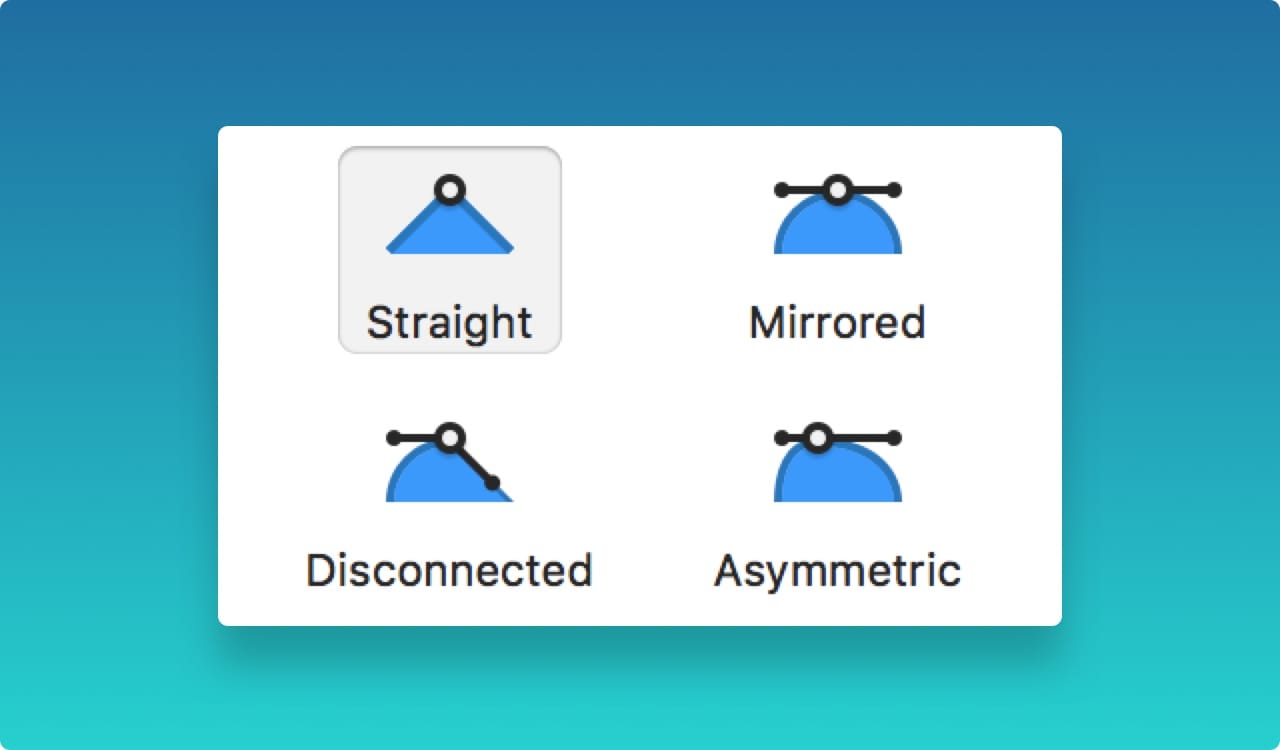
Straight Point
The Straight Point is as easy as drawing a straight line. If we stopped here, we’d only be able to draw perfect geometric shapes. Use Shift to draw perfectly straight lines.
Mirrored
Mirrored is a symmetric bezier curve. As you change the angle or distance of one side, it’ll update the other side as well.
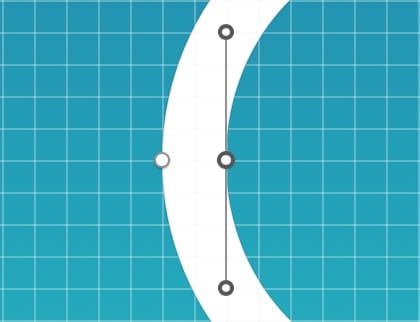
Asymmetric
Similar to Mirrored, Asymmetric will keep the same angle, but allows for a different distance.
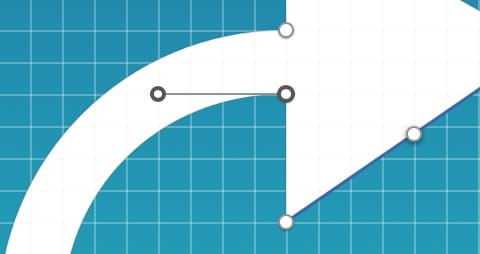
Disconnected
When the two handles are completely different, use Disconnected. You can even delete one handle and keep the other. This is especially useful when you have a sharp turn, followed by a curve.
Open / Close Path
When you begin a new Vector, it’ll be open. In other words, you can draw as many points as you want before it completes itself. When you’re ready to close the path, click on Close Path.
If you wish to re-open the paths again, click on Open Path. Notice that it’ll open at the last point. Press Alt to show the first, which gives you an idea where the last point will be.
Set Style as Default
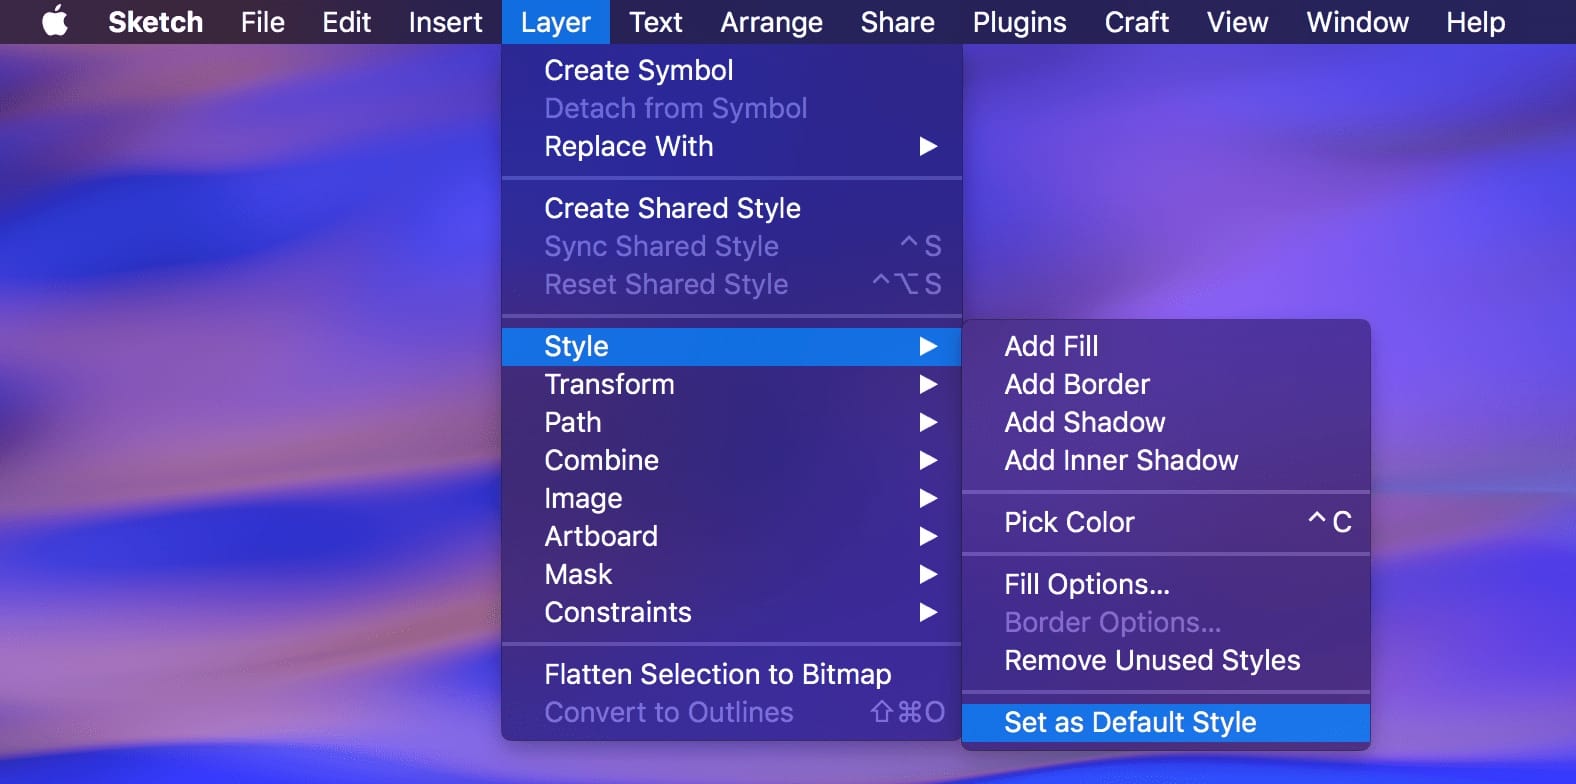
On any given day, you’ll create no less than a hundred new layers. Every time, you most likely have to disable the default border style and change the Fill color. It’s pretty rare that borders come into play when designing user interfaces for iOS or Android. So, to save you hundreds of clicks every day, you should set your own default style. To do that, set an example style and go to Layer, Style, Set Style as Default.
New Shape
It is important to be familiar with all the Shapes available as well as their keyboard shortcuts: Rectangle (R), Rounded Rectangle (U), Oval (O), Line (L).
Polygon Points
You can quickly create a Polygon with as many points as you want. This only works with the Polygon shape.
Star Points and Radius
The Star shape has not only Points, but Radius as well, which lets you design the perfect angle for your points.
Combining Shapes
Union will add shapes together. It’s the simplest and most common technique.
Subtract
Subtract will subtract subsequent shapes from the main shape (the one at the bottom).
Intersect
Intersect will show the space where 2 shapes meet.
Difference
Difference will show the space where 2 shapes don’t meet.
None
None lets the computer do the guessing. When you use Convert to Outlines or Flatten, Sketch will likely use None. However, I recommend switching back to one of 4 options since you’ll be far more in control later on.
Flatten Vector
When you Transform or Combine shapes, they often keep their properties (transform values, border values, radius). When you Flatten a shape, it will no longer hold those properties or have a combination of multiple shapes. Like this, you can Edit the shape as you wish.
Convert to Outlines
The Border is a property available to any shape. When you resize them, they keep the same thickness and position (center, outside, inside). With Convert to Outlines, you can convert those outlines into vectors that can be scalable. The resulting vector will be composed of multiple shapes combined.
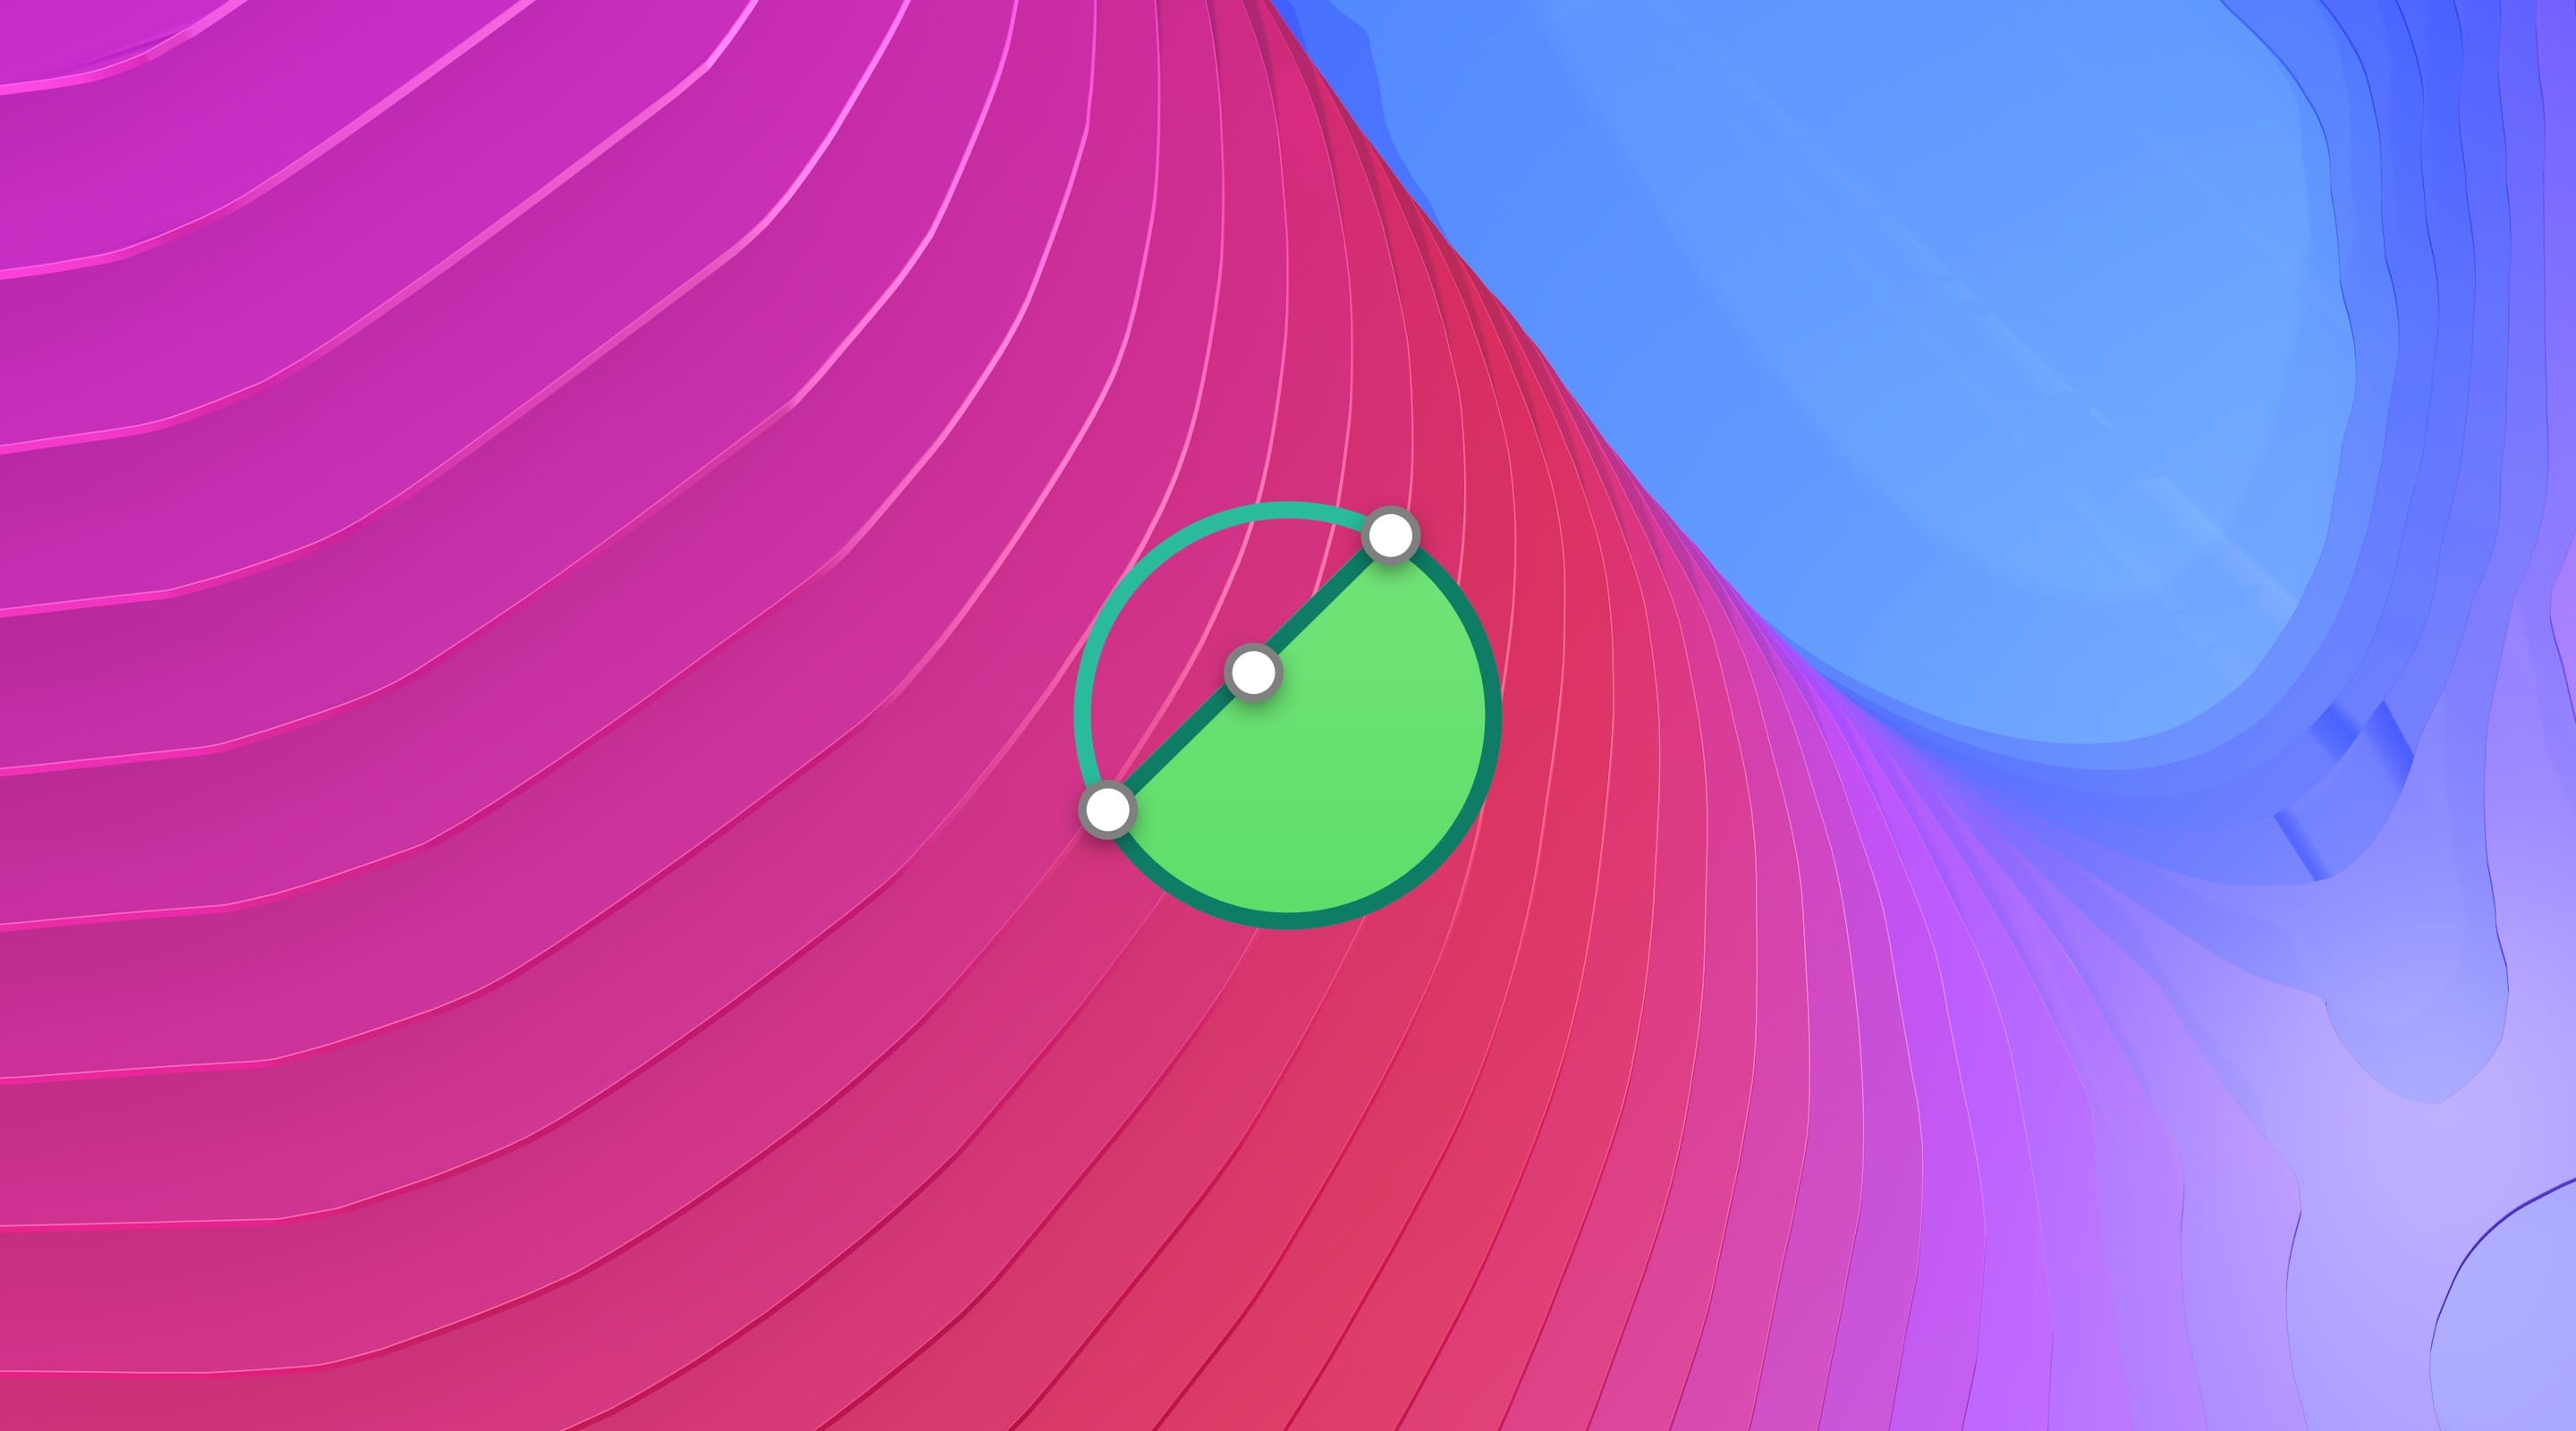
Scissors
Scissors is a powerful new tool that lets you quickly cut parts of a vector. For instance, a circle can be cut in half, then close its paths to reform a new shape. It requires far less steps than using Subtract or editing the vector points manually.
Combined Techniques
Combined with Border Options, Convert to Outlines and Flatten, you can create interesting new shapes, especially when it comes to using outlines. A lot of familiar icons out there may benefit this technique.
Perspective Transform
The Transform tool may be harder to use than in your typical vector tool such as Illustrator, but it works if done right. Plus, you don’t have to switch between two applications.
First, make sure to Convert to Outlines every text layer. Also, ungroup everything since Transform won’t work on Groups. Finally, select all the layers together and do Transform (Cmd Shift T). The beautiful thing about this is everything will be kept in vector.
Rotate
With the Rotate tool (Cmd Shift R), you can set the anchor point from which the rotation should occur. Once Rotation is active, you can drag one of the 8 points. You can do the same rotation by Holding Cmd and dragging those points. Likewise, rotation can be edited in the Inspector.
Rounded Corners Editing
You can be specific about which Point of your shape that you want rounded. Additionally, you can write numbers like this to target the corners (E.G., 0;100;0;100).
Reverse Order on the Path
In a shape you can press Tab to go to the next point of the shape, but sometimes you will need to reverse this order, for that go to Layer, Path, Reverse Order.
Moving Shapes
This is a Pro Tip, when you start drawing a shape and you want to place it on a specific point on the canvas, you only have to press the space bar meanwhile holding the shape.